User Guide
v4.0.0
The screens of the rescue switcher: the start screen, the list of ROM images and its keys, and how to start an image.
Table of contents
The start screen
When it starts, the rescue switcher checks its own image and shows its version, the image size and its build:
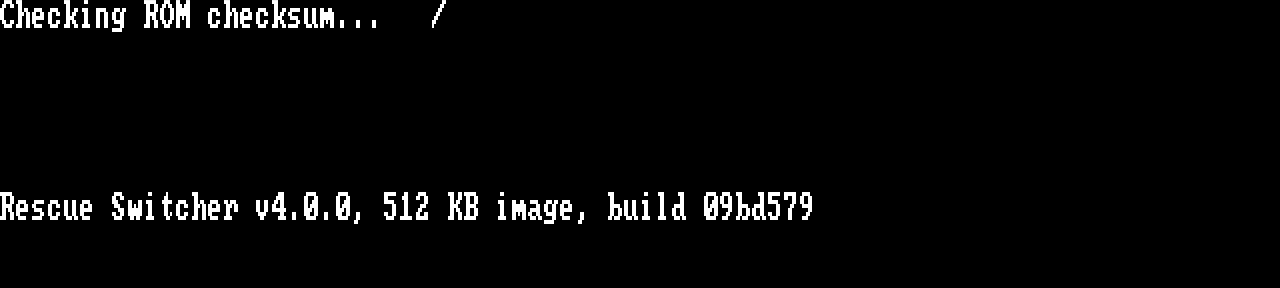
Then it says “Loading available ROM images…” and checks that the board answers. On a working board the list follows at once.
If the check of its own image fails, it shows “ROM checksum FAIL” with two numbers and waits for a key, then carries on. The image on the drive is damaged, or is not the published file: copy it to the drive again and eject.
The list
The rescue switcher shows the ROM images on the board, in alphabetical order, 17 to a page:
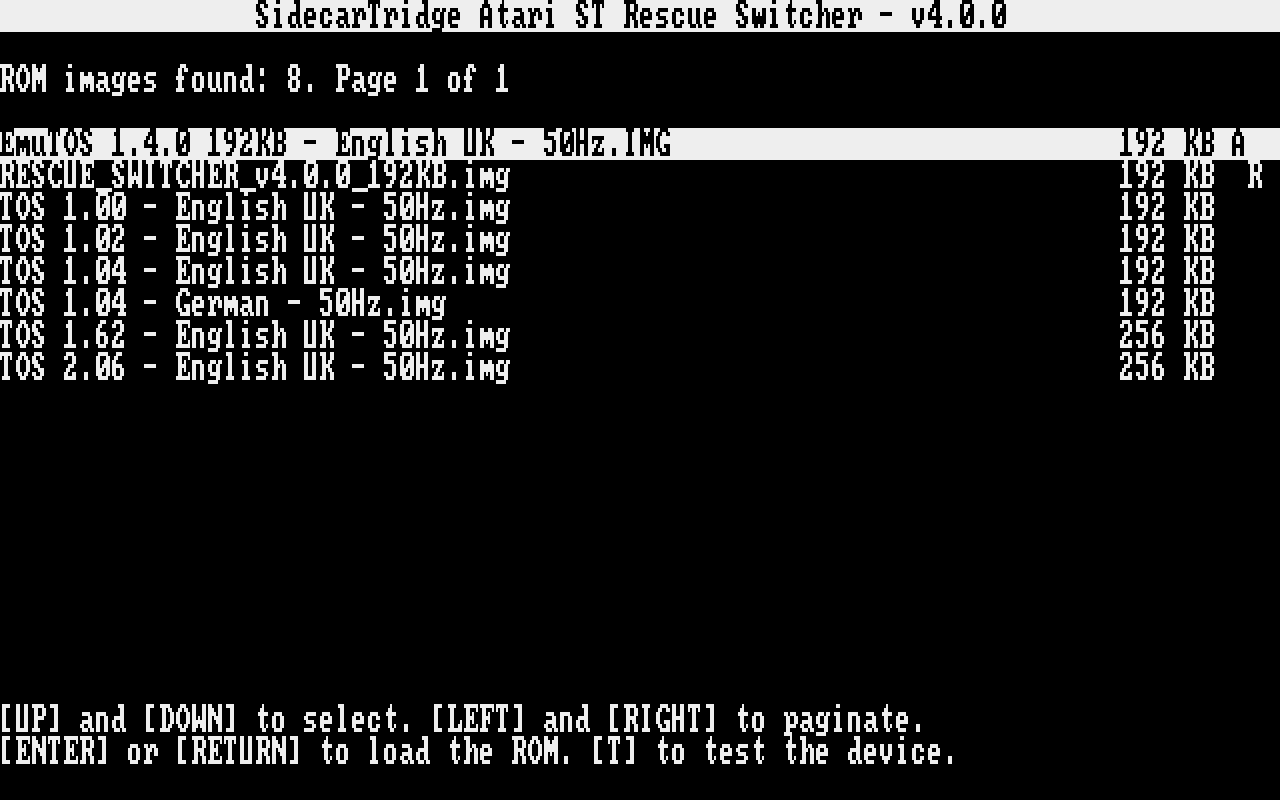
The title names the image: Atari ST, Atari STE, or Amiga 16 bit models. Each row shows an image’s name and size, and a letter:
- A marks the active image: the default one, which starts when the computer is switched on normally.
- R marks the rescue image, normally the rescue switcher itself.
| Key | What it does |
|---|---|
UP, DOWN | Move through the list |
LEFT, RIGHT | Previous and next page |
RETURN or ENTER | Start the selected image |
T | Test the board: see Self-test |
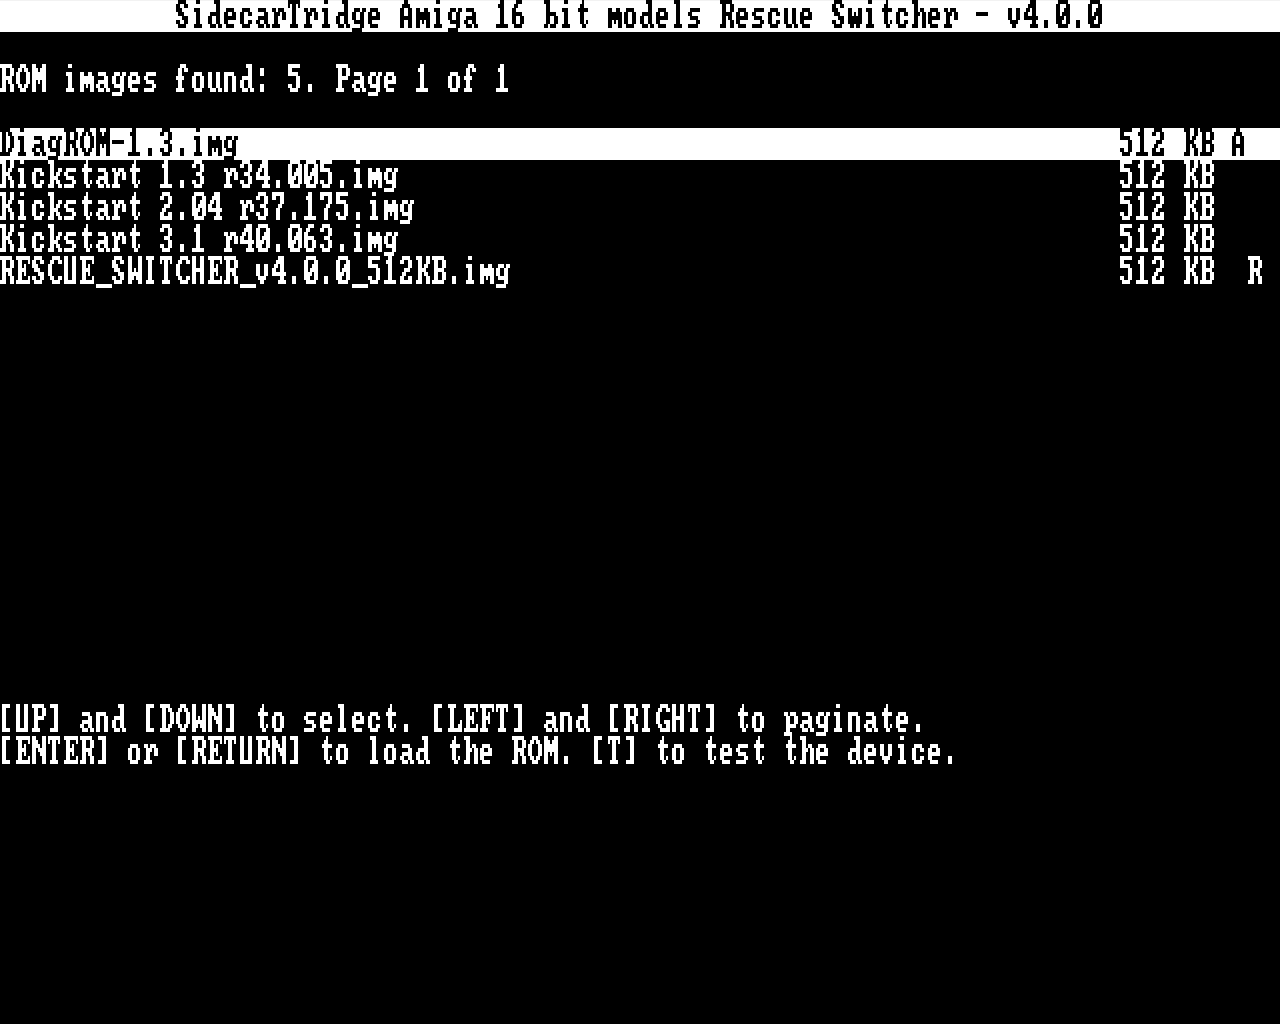
There is no key to leave: choose an image, or switch the computer off. On the Amiga the list looks the same:
Starting an image
Move to the image and press RETURN. The rescue switcher asks for confirmation at the bottom of the screen:
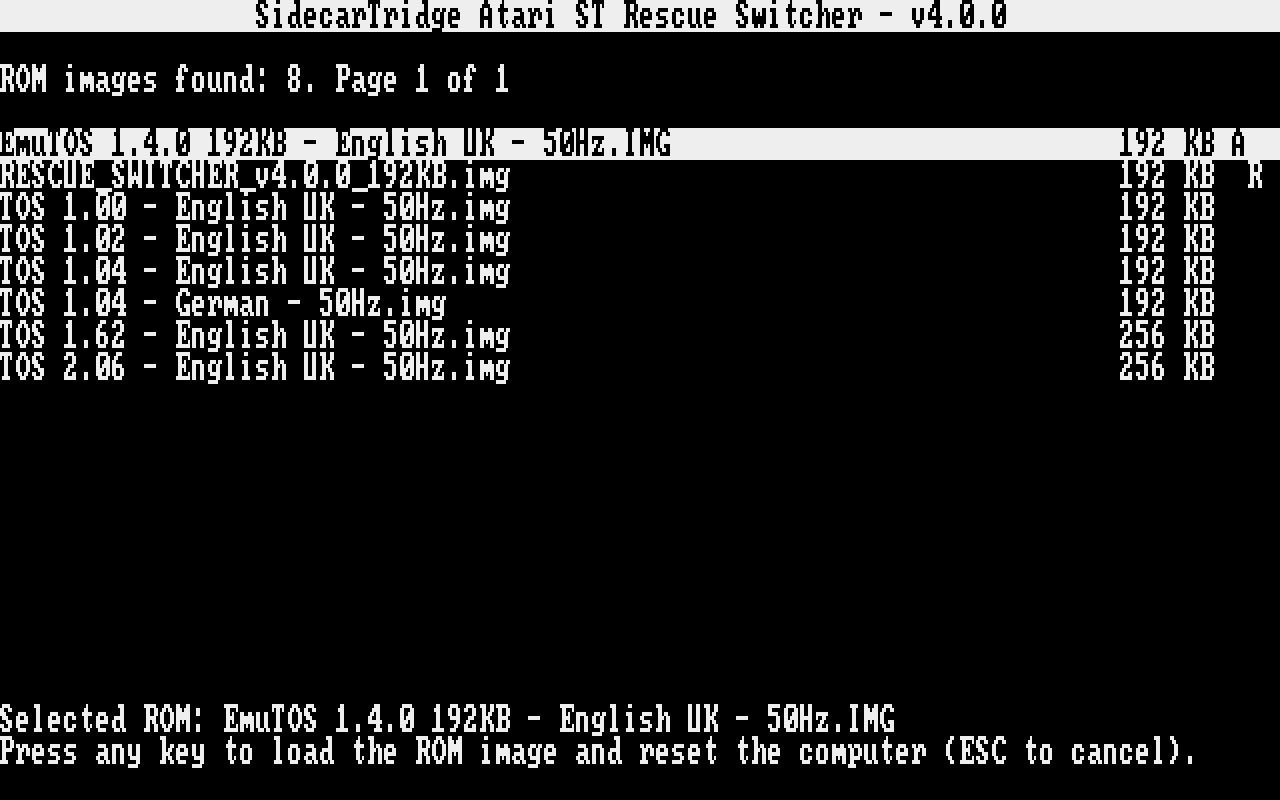
Press any key to start it, or ESC to go back to the list. It shows “Rebooting the computer with the new ROM…” and restarts the computer with the image: an Atari after about 3 seconds, an Amiga at once.
The image you start becomes the default one, marked A, until the ROMEMUL drive is next ejected. The board then takes the default from DEFAULT.TXT again, which the rescue switcher does not change. To keep your choice, select the image in the SWITCHER as well, or write its name in DEFAULT.TXT.