SidecarTridge Multi-device File & Download Manager
Source code CHANGELOG Report BUG v2.1.1

This microfirmware app for the SidecarTridge Multi-device lets you browse and download floppy images from the public database, manage files on your microSD card, and even work directly with Atari ST disk images—all from a browser-based UI that runs on your phone, tablet, or desktop.
See the File & Download Manager in action:
Table of contents
🚀 Installation
To install the File & Download Manager app on your SidecarTridge Multi-device:
- Launch the Booster App on your SidecarTridge Multi-device.
- Open the Booster web interface in your browser.
- Go to the Apps tab and select File & Download Manager from the list.
- Click Download to install the app onto the microSD card.
- Select the newly installed app and click Launch.
After launching, the File & Download Manager app will run automatically every time your Atari is powered on.
🕹️ Usage
On boot you’ll see a QR code screen. Scan it to open the web UI, or type the displayed hostname/IP address (for example, http://sidecart.local).
- Press any key to skip the QR code and boot GEMDOS.
- Press ESC to return to the Booster launcher.
- You can also jump back to Booster directly from the web UI header.
💾 Floppy Images Database
Click Floppy DB in the navigation bar to open the public floppy database. There are several ways to discover titles:
- What’s New – latest uploads curated by the community.
- Main Catalog – the long-term archive, organized by crew label or collection.
- Browse A–Z – page through the catalog by first letter or number, with a dedicated New group for recent arrivals.
You can browse the same catalog from any web browser on the Atari ST Public Floppy Database, handy for scouting titles from your phone or desktop before you sit down at the Atari.
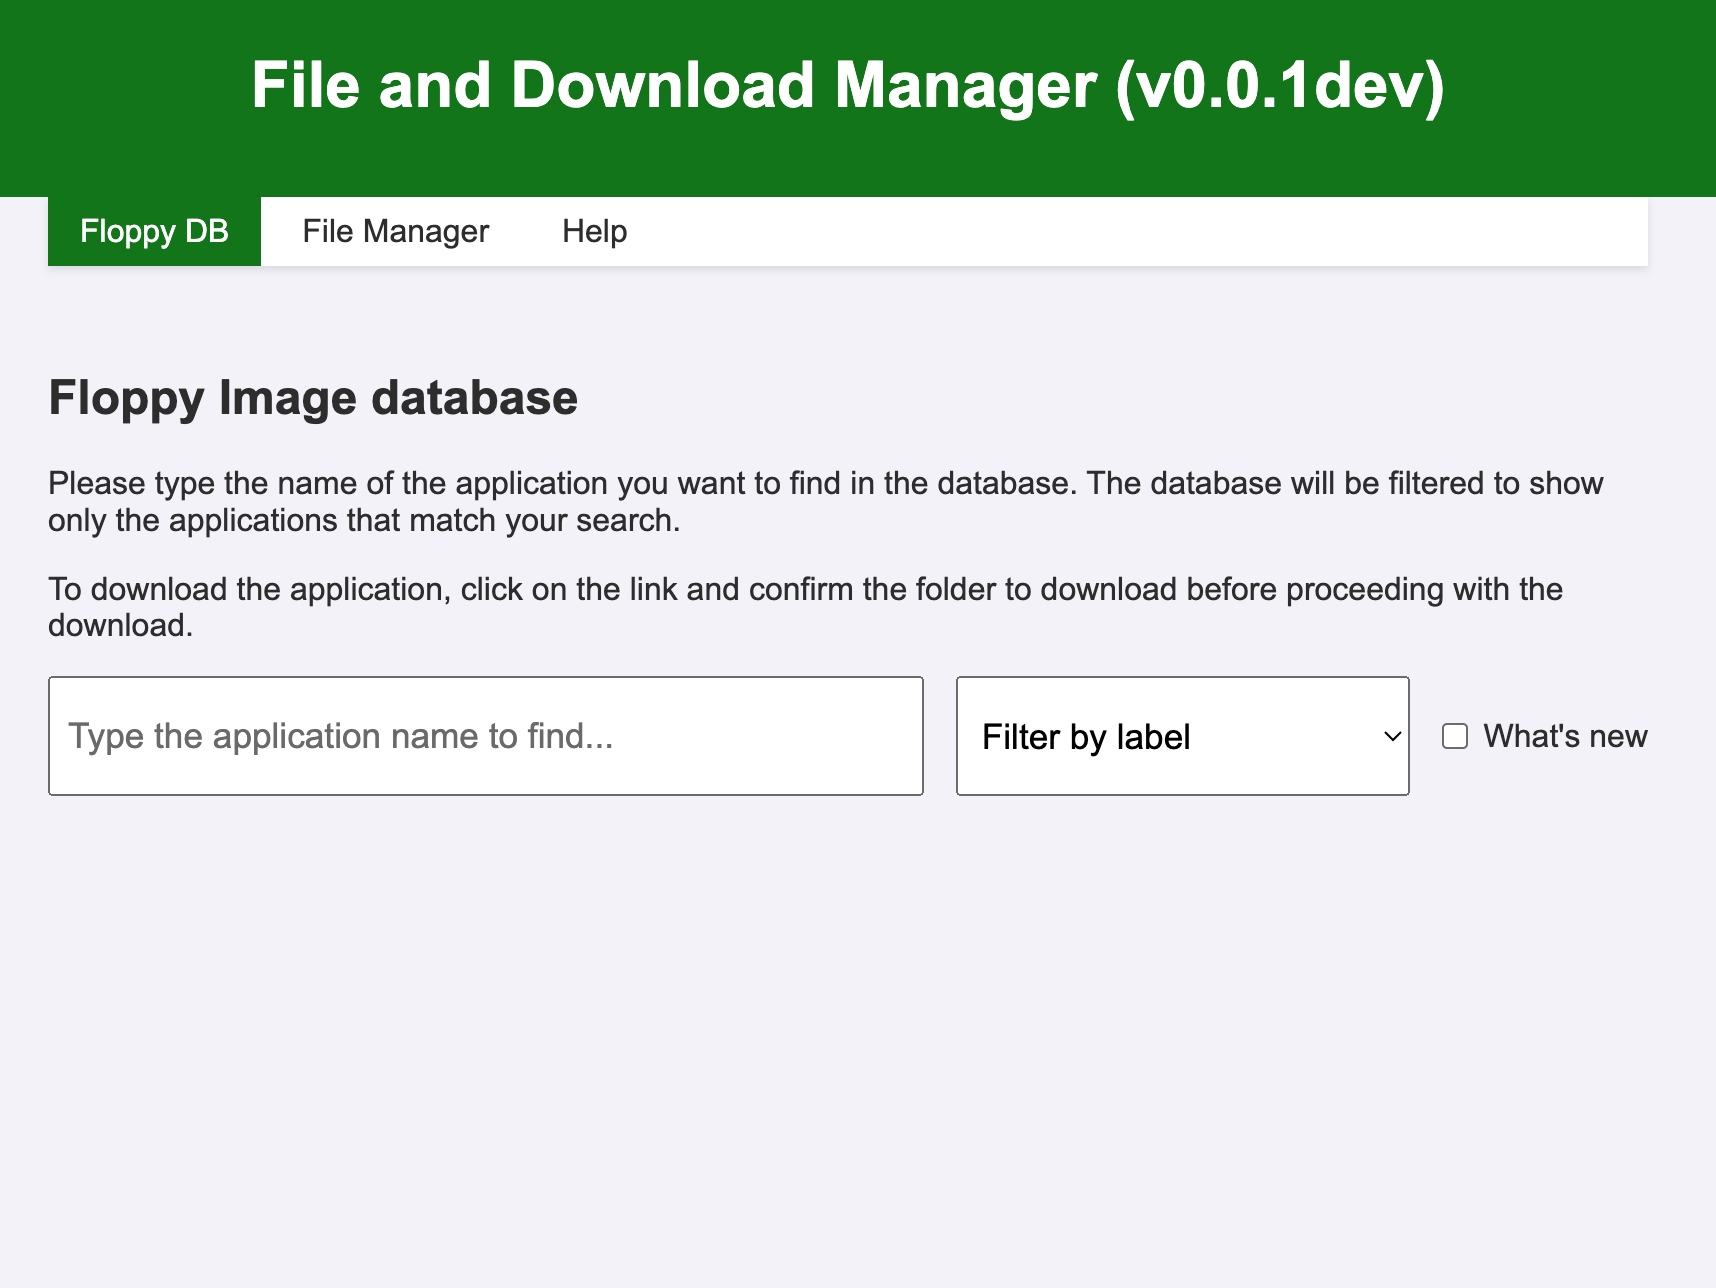
Use the controls at the top to zero in on what you need:
- Search box – smart suggestions as you type (e.g.,
xe→Xenon). - Browse A–Z – pick a first letter or number (or the New group) to page through the catalog without typing.
- Label chips – filter by cracking team, app genre, collection tags, etc.
- What’s New vs Main Catalog – flip between recent additions and the deep archive.
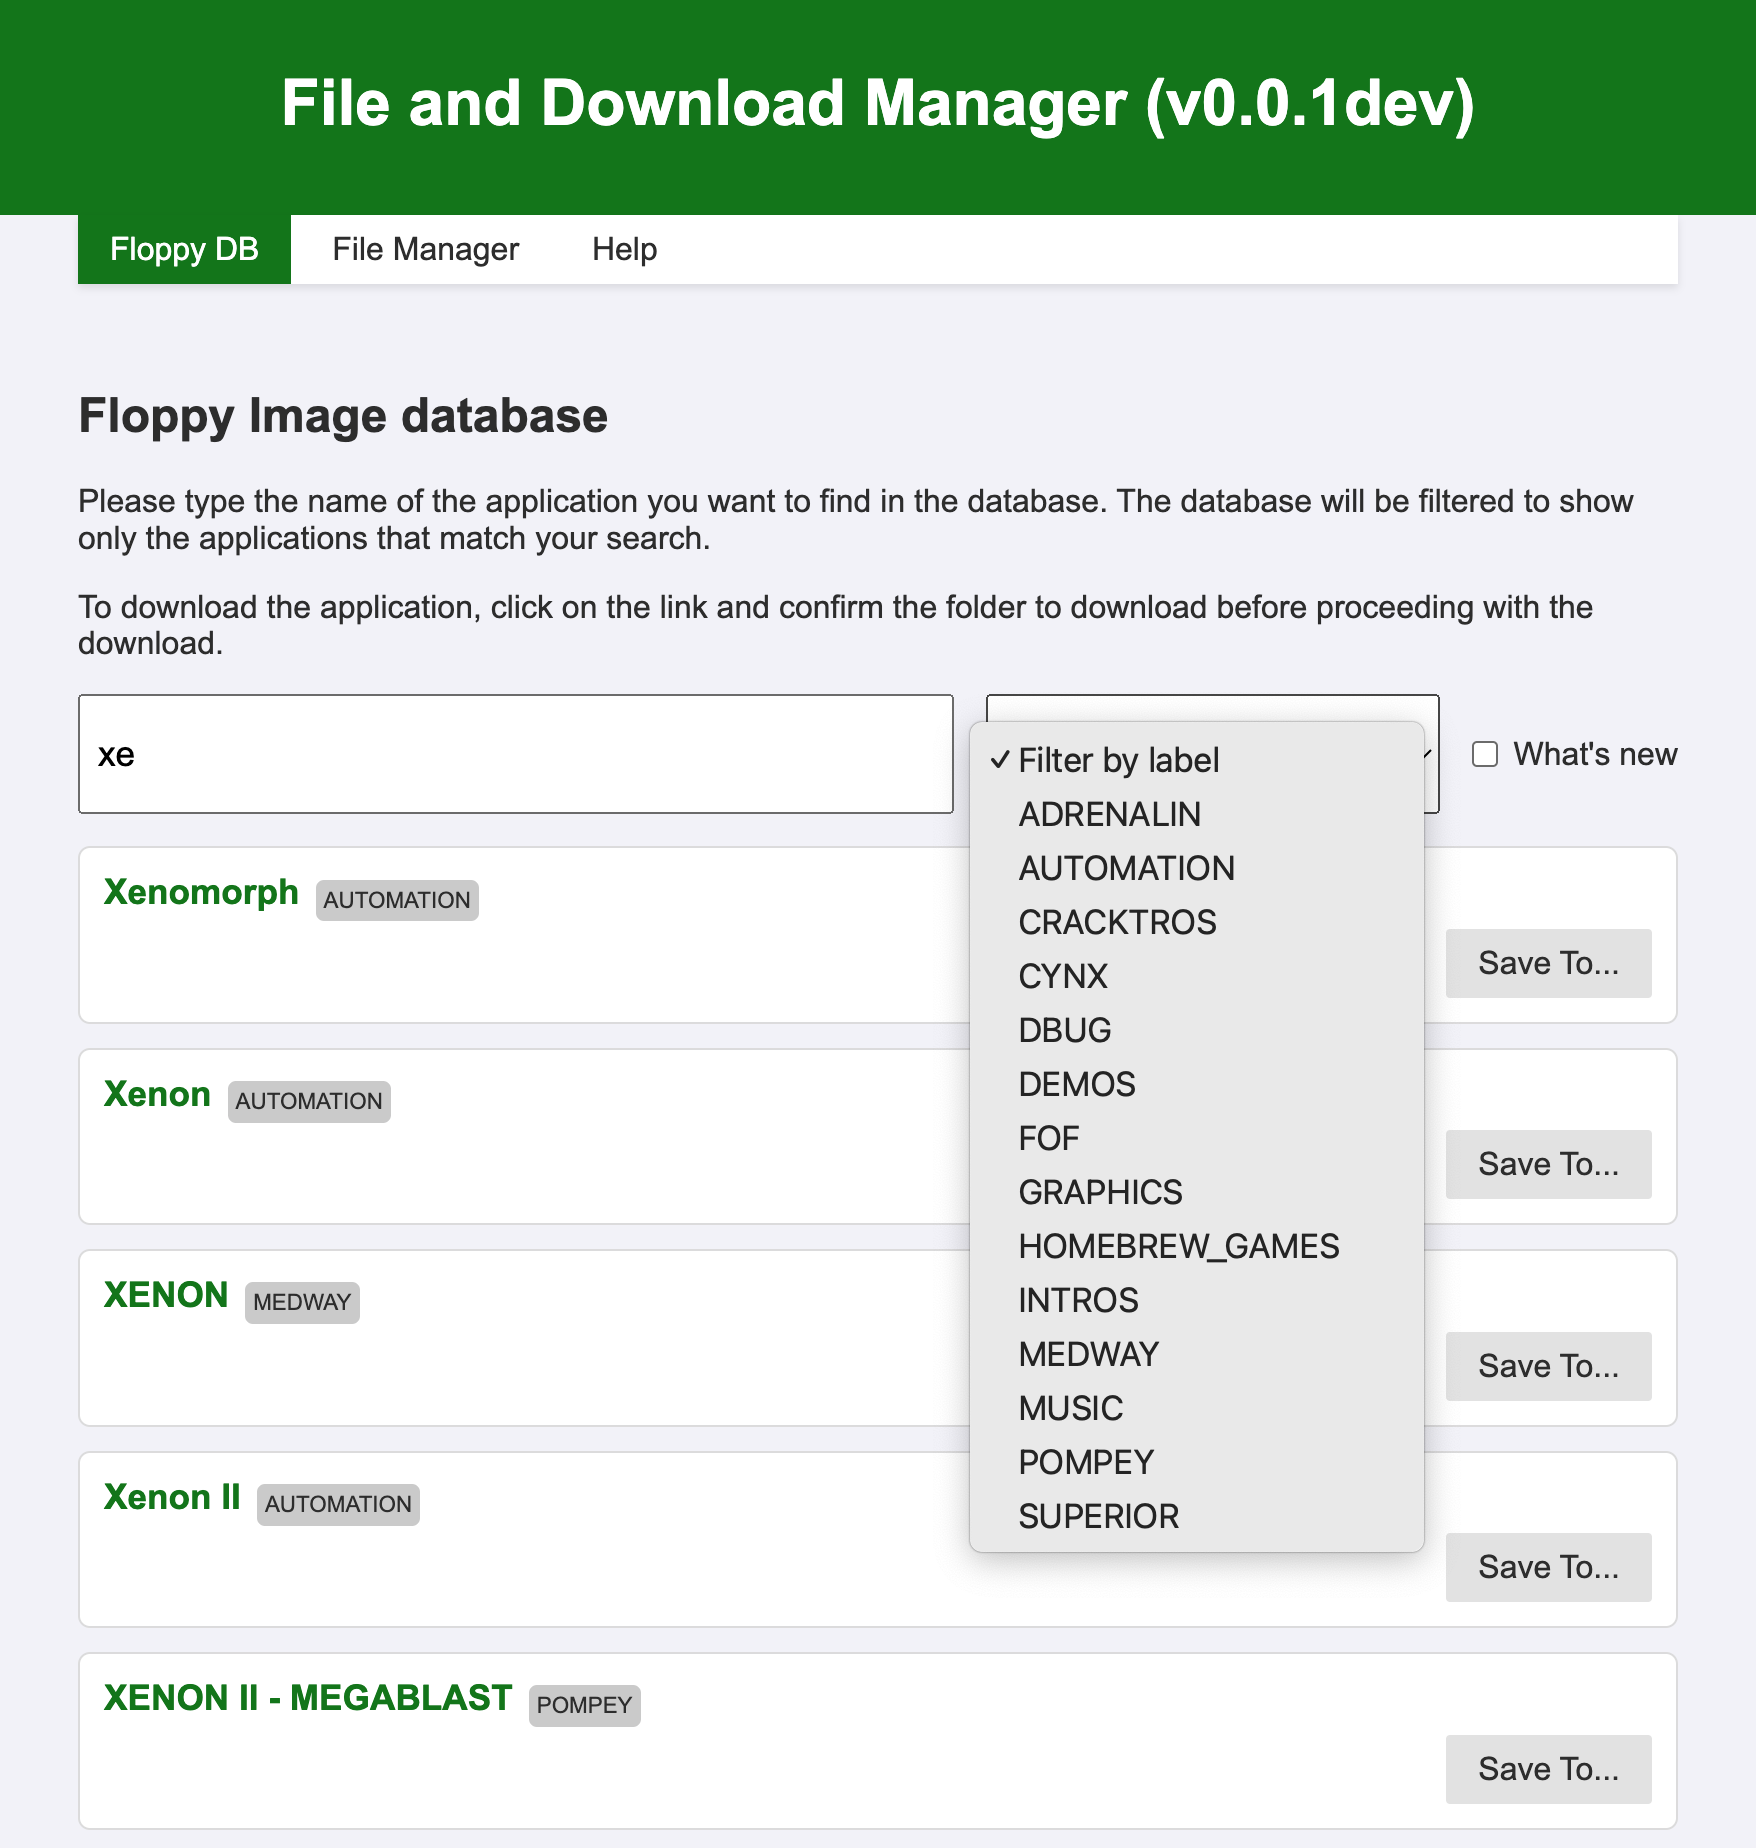
To download an image:
- Click the green download icon next to the entry.
- Pick the destination folder from the dialog.
- Click Download here to start the transfer.
Files land directly on the microSD card. Load them with the Drives Emulator or any other floppy solution (Gotek, etc.).
🗂️ File Manager
Overview
The File Manager is now a full microSD and floppy image workbench. You can:
- Browse folders, inspect file metadata, and color-coded attributes.
- Rename, delete, copy, and move files or folders with progress reporting.
- Upload multiple files at once or pull files directly from an internet URL.
- Create folders, blank Atari ST disk images, and
.st/.st.rwcontainers. - Convert
.MSA↔.STfloppy images, and.STX(Pasti) images to.ST(experimental). - Extract
.ziparchives straight into the current folder. - Mount
.STand.st.rwimages and work inside them (copy, rename, delete, import/export files).
Table View
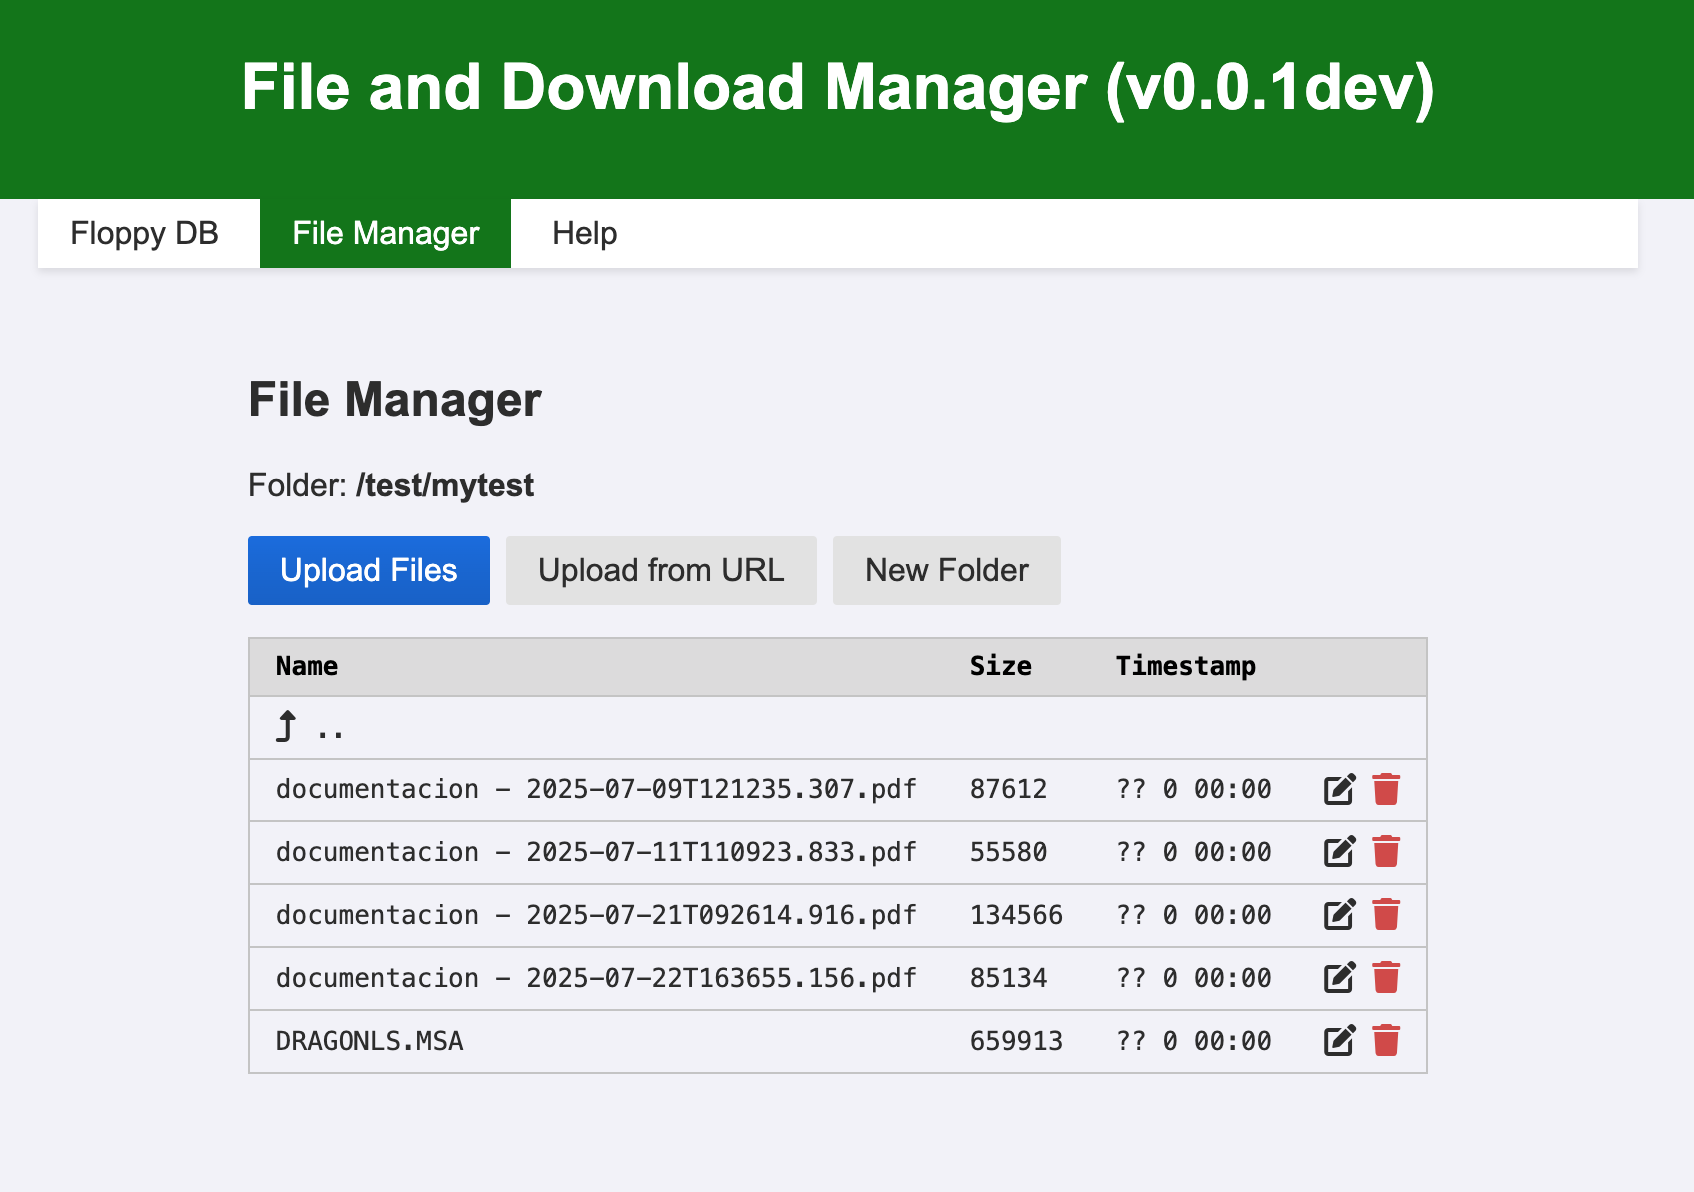
Click File Manager in the nav. The table lists:
- Name, Size, Timestamp
- Actions (icons for copy, move, rename, delete, download, convert, browse image, etc.)
Toolbar actions include:
- Upload files (multi-select)
- Upload from URL
- New Folder
- Blank ST Image (create empty 360 KB/720 KB/1.44 MB/2.88 MB images in
.stor.st.rwformat)
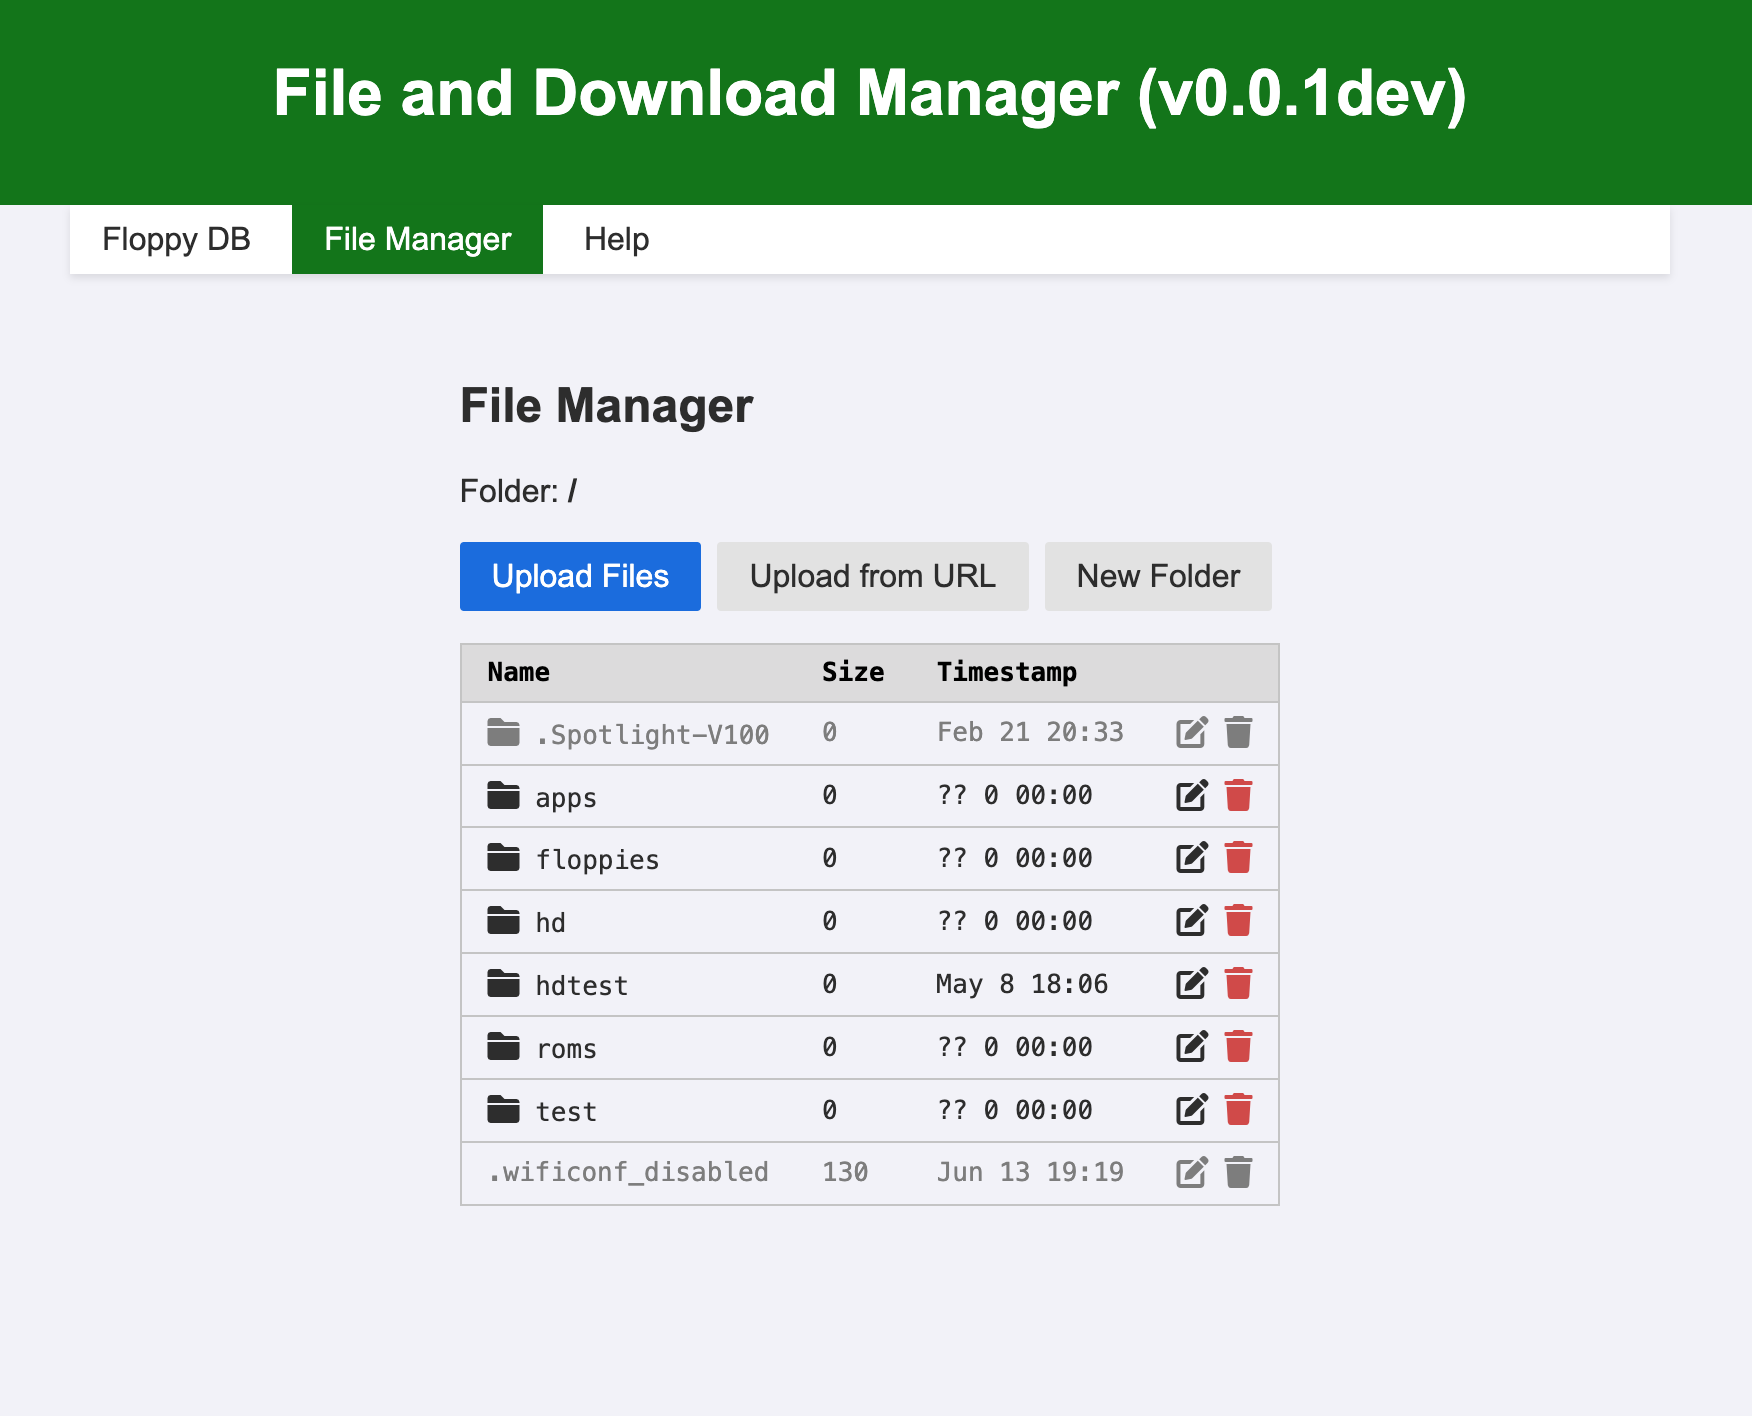
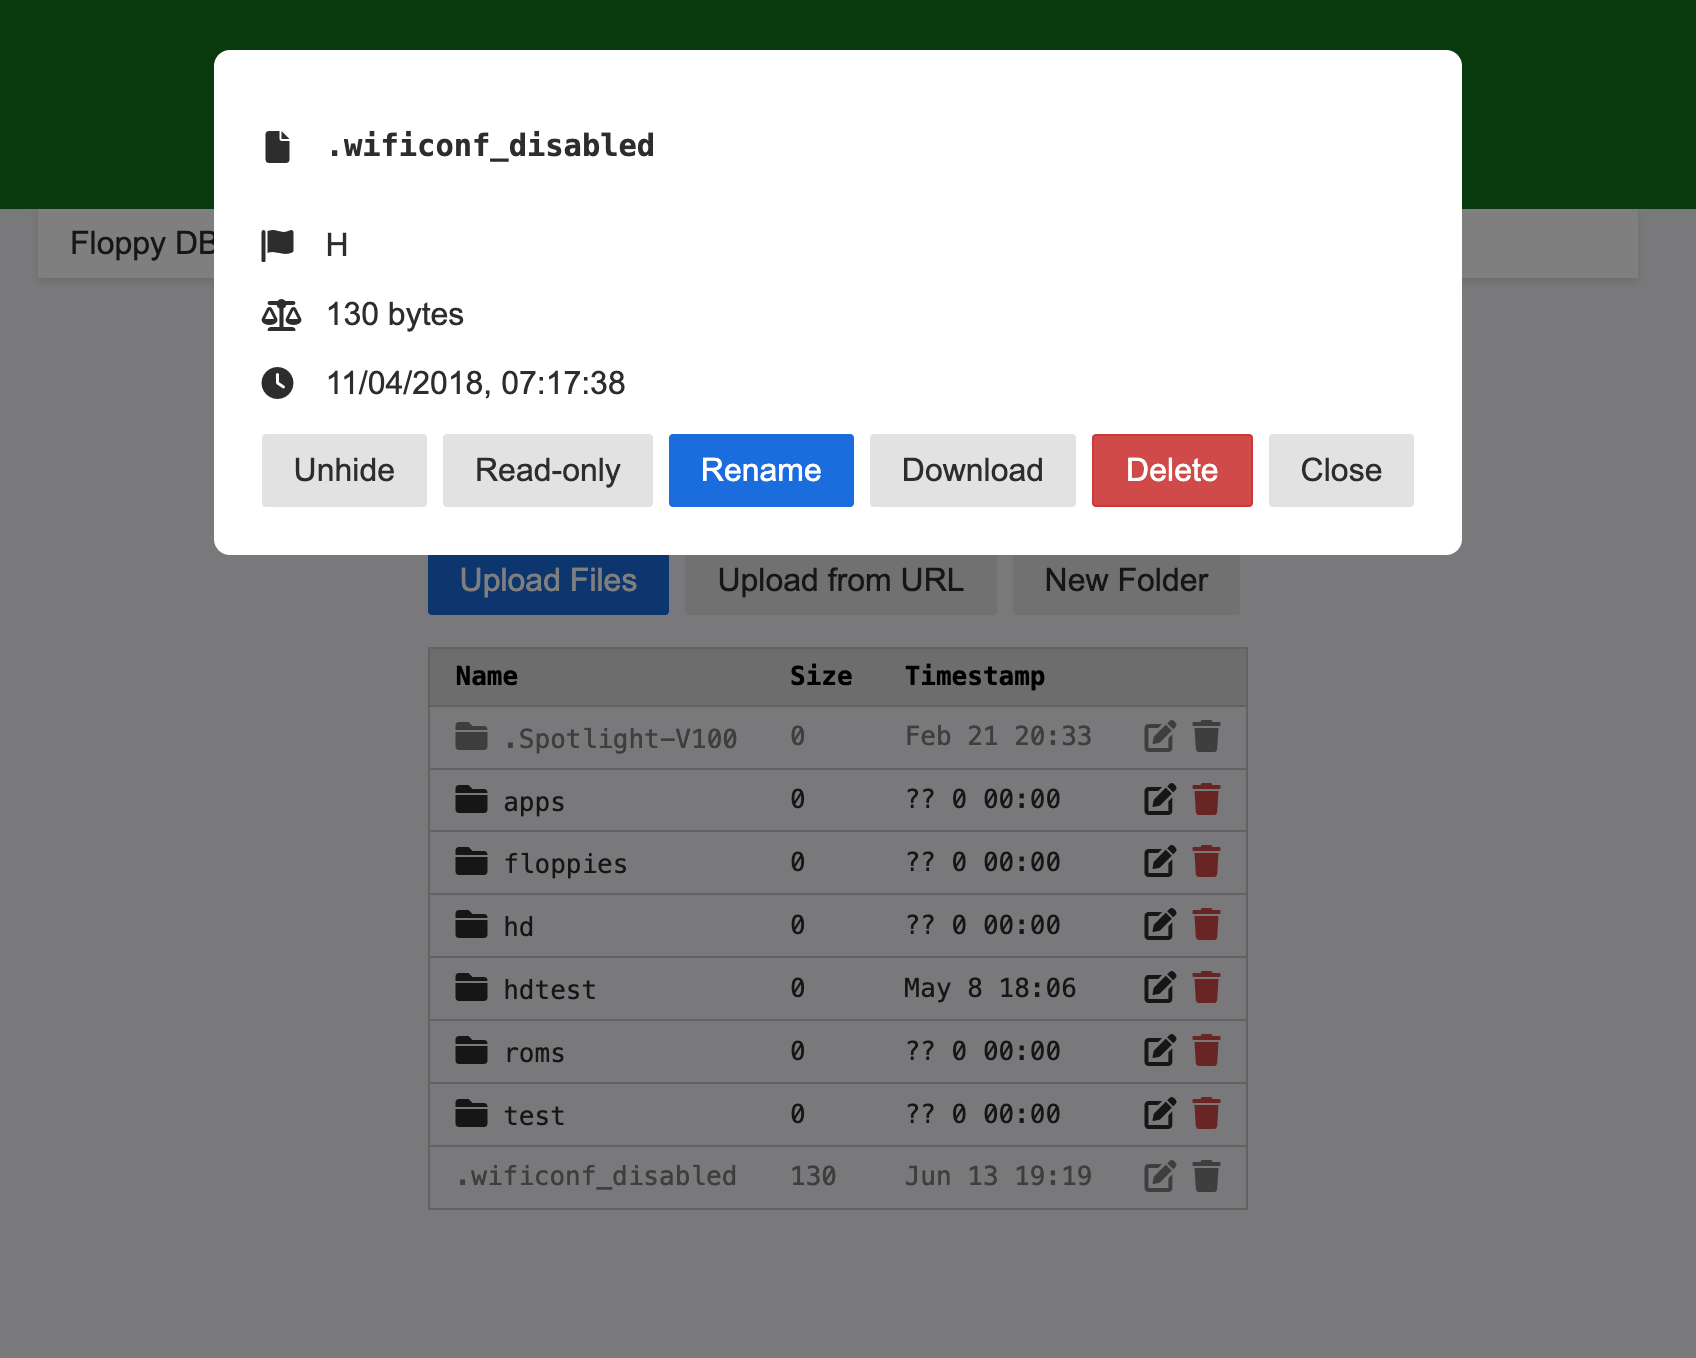
Row Colors & Navigation
- Black rows – normal files/folders
- Gray rows – hidden entries
- Red rows – read-only items
Click a folder to enter it; use the leading .. row to go back.
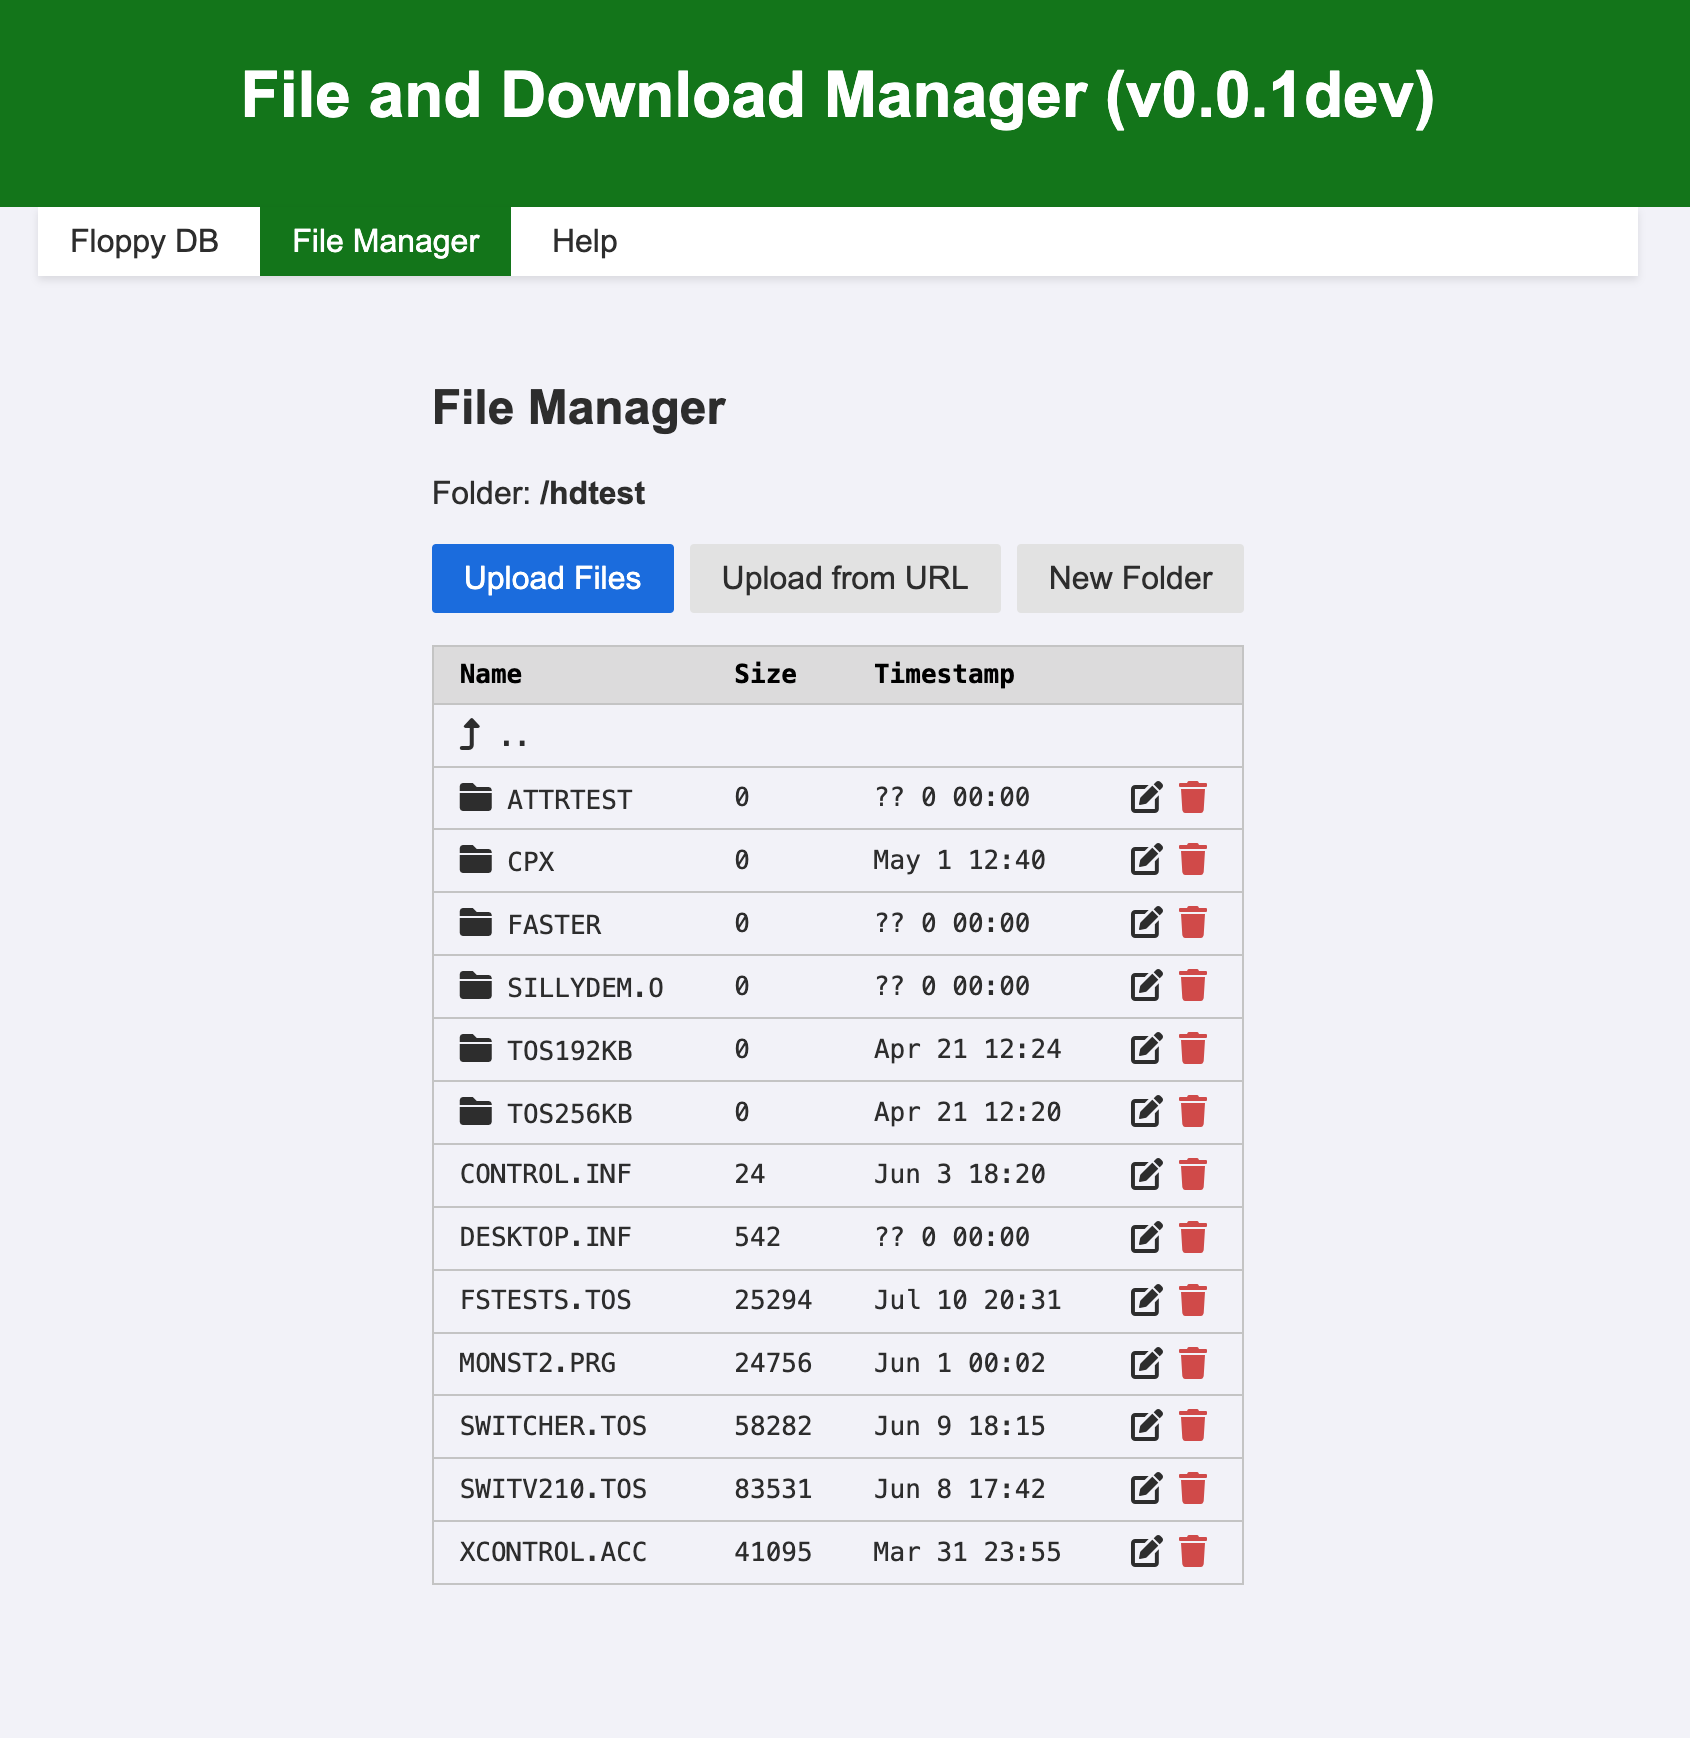
File Actions
Each row exposes context-aware actions. Depending on the file you can:
- Toggle hidden or read-only attributes
- Rename, delete, download, copy, or move items
- Convert between
.MSAand.ST, or a.STX(Pasti) image to.ST - Extract the contents of a
.ziparchive - Browse Image for
.ST/.st.rwcontents
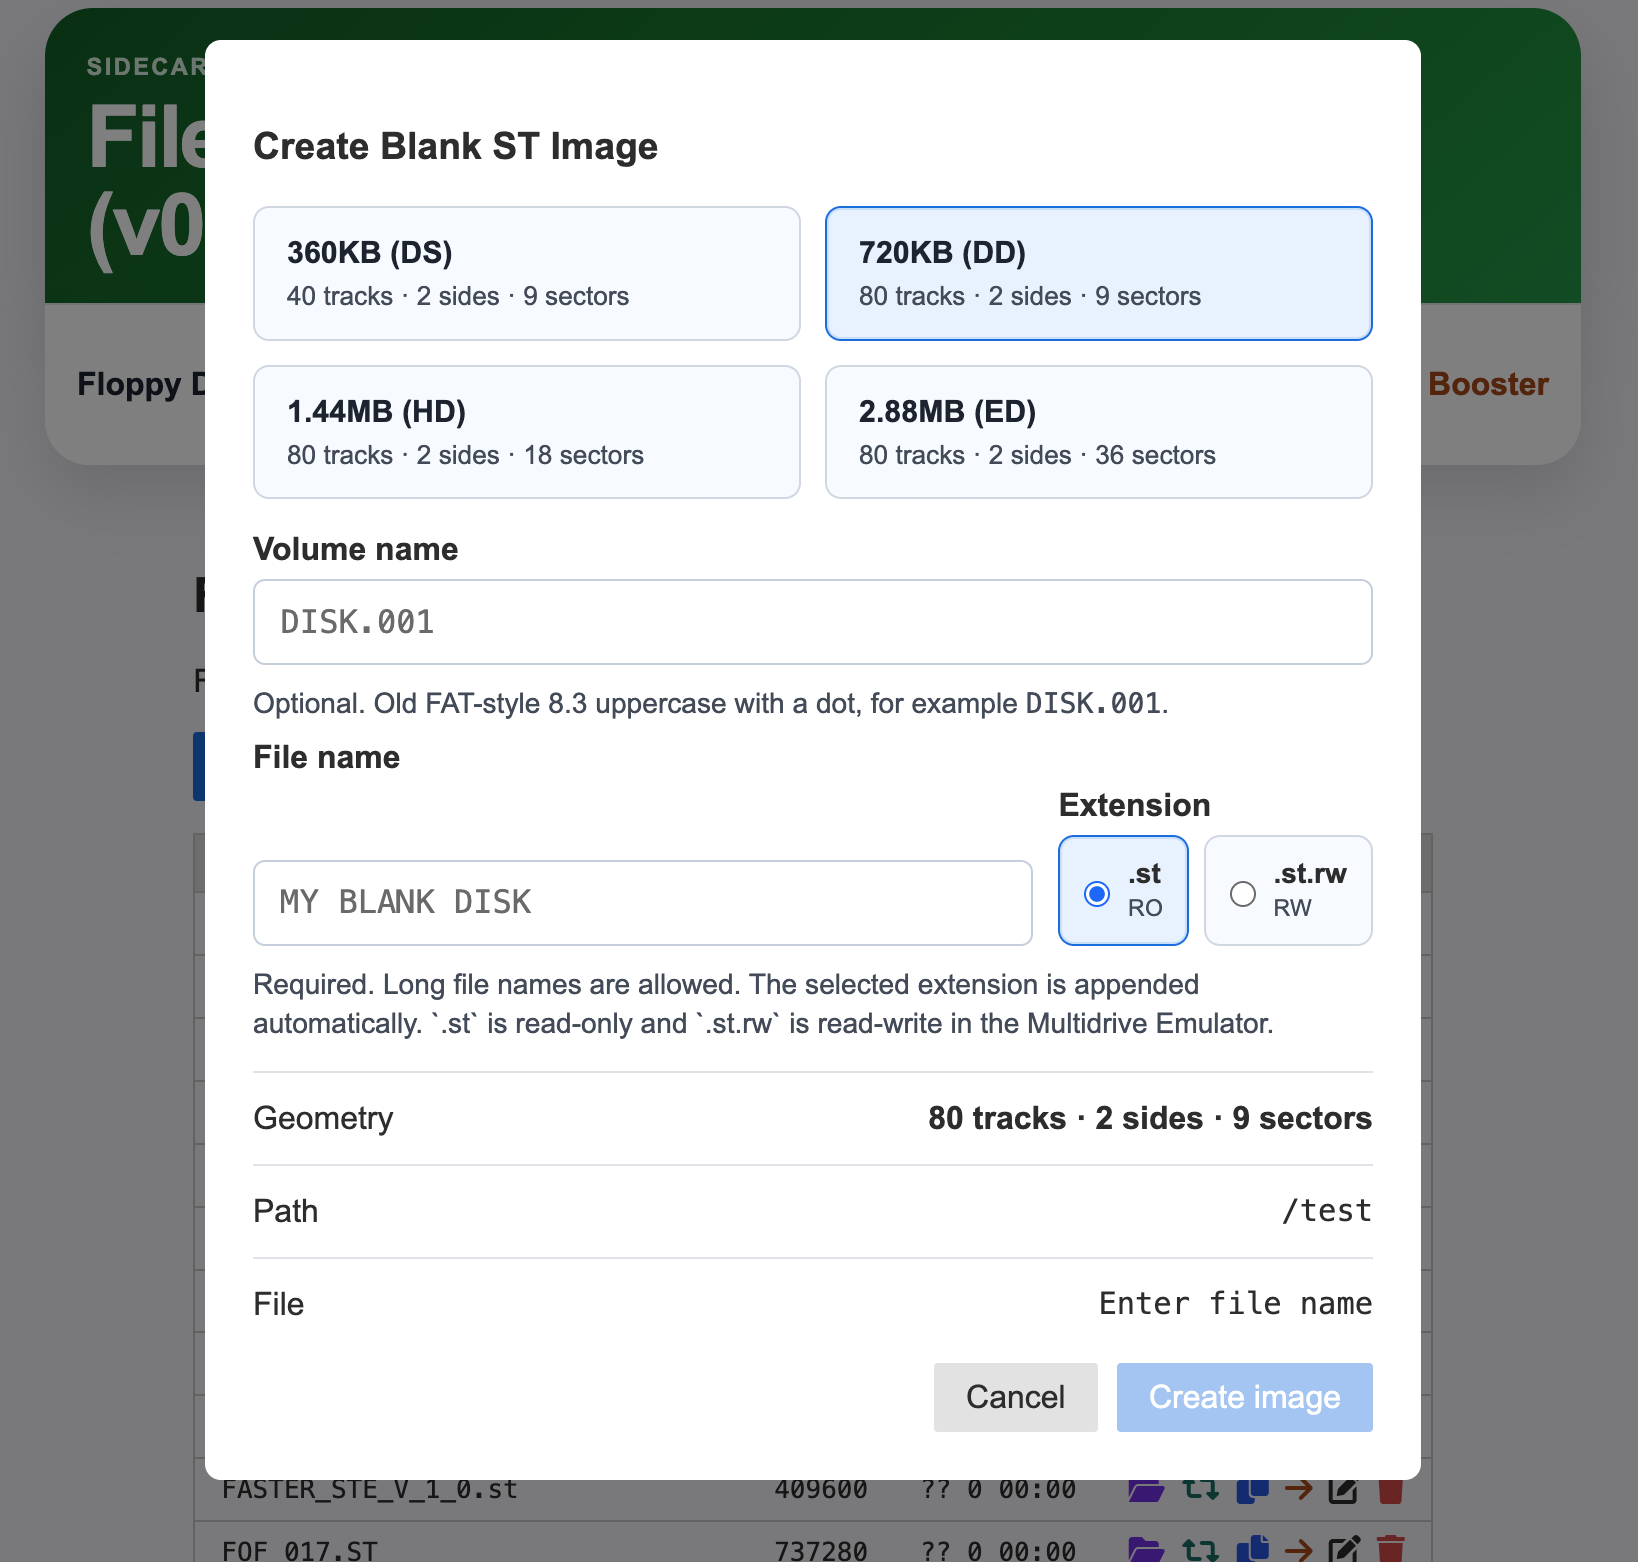
Creating a Blank ST Image
Need a fresh floppy? Click Blank ST Image, pick the size, file name, optional volume name, and whether it should be .st (read-only) or .st.rw (writable/browsable). The image drops straight into the current folder.
Converting MSA and ST Images
Use the convert icon to flip an .MSA into .ST (or vice versa) without leaving the browser. Handy when a release comes in the “wrong” format for your workflow.
Converting STX (Pasti) Images
The File Manager can also convert .STX (Pasti) disk images to .ST (experimental). Before the conversion starts, a colour-coded preflight tells you what to expect, so you decide with the outcome already known:
- LOSSLESS – a perfect copy.
- ACCEPTABLE – all data is kept; only copy-protection metadata is lost.
- CAREFUL – some sectors cannot be recovered.
Extracting ZIP Archives
Got a release packed in a .zip? Select it and choose Extract. Its contents are unpacked into the current folder with a live progress display, so you can drop in a downloaded bundle and get straight to the disk images inside.
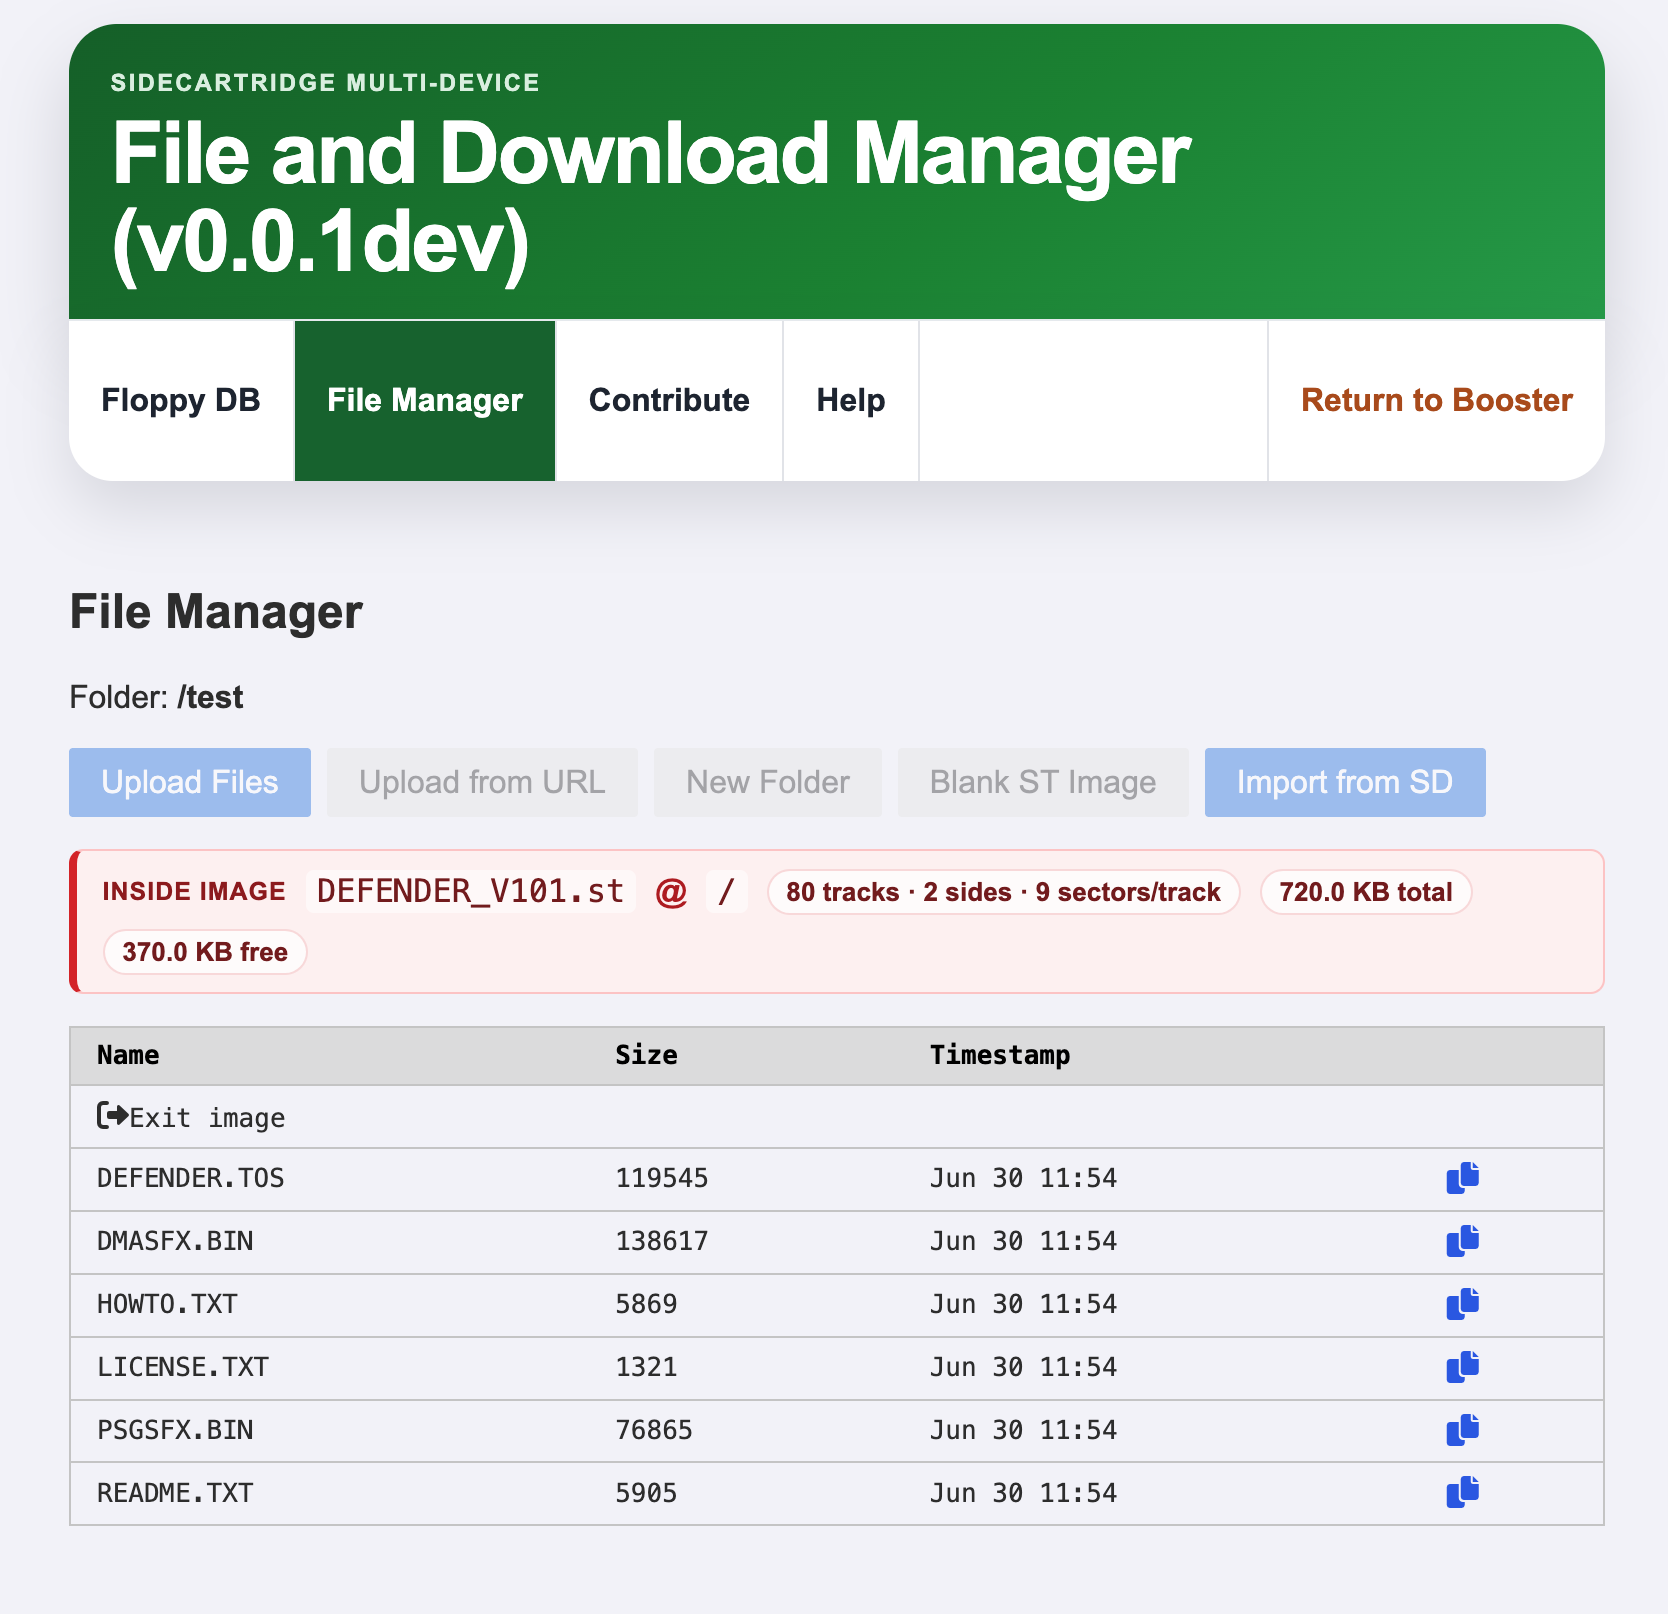
Browsing Inside ST Images
Open any .ST/.st.rw file with Browse Image. The file mounts like a folder so you can inspect or manage its contents. Writable .st.rw images support rename, delete, import, and export operations with automatic 8.3 name handling when needed.
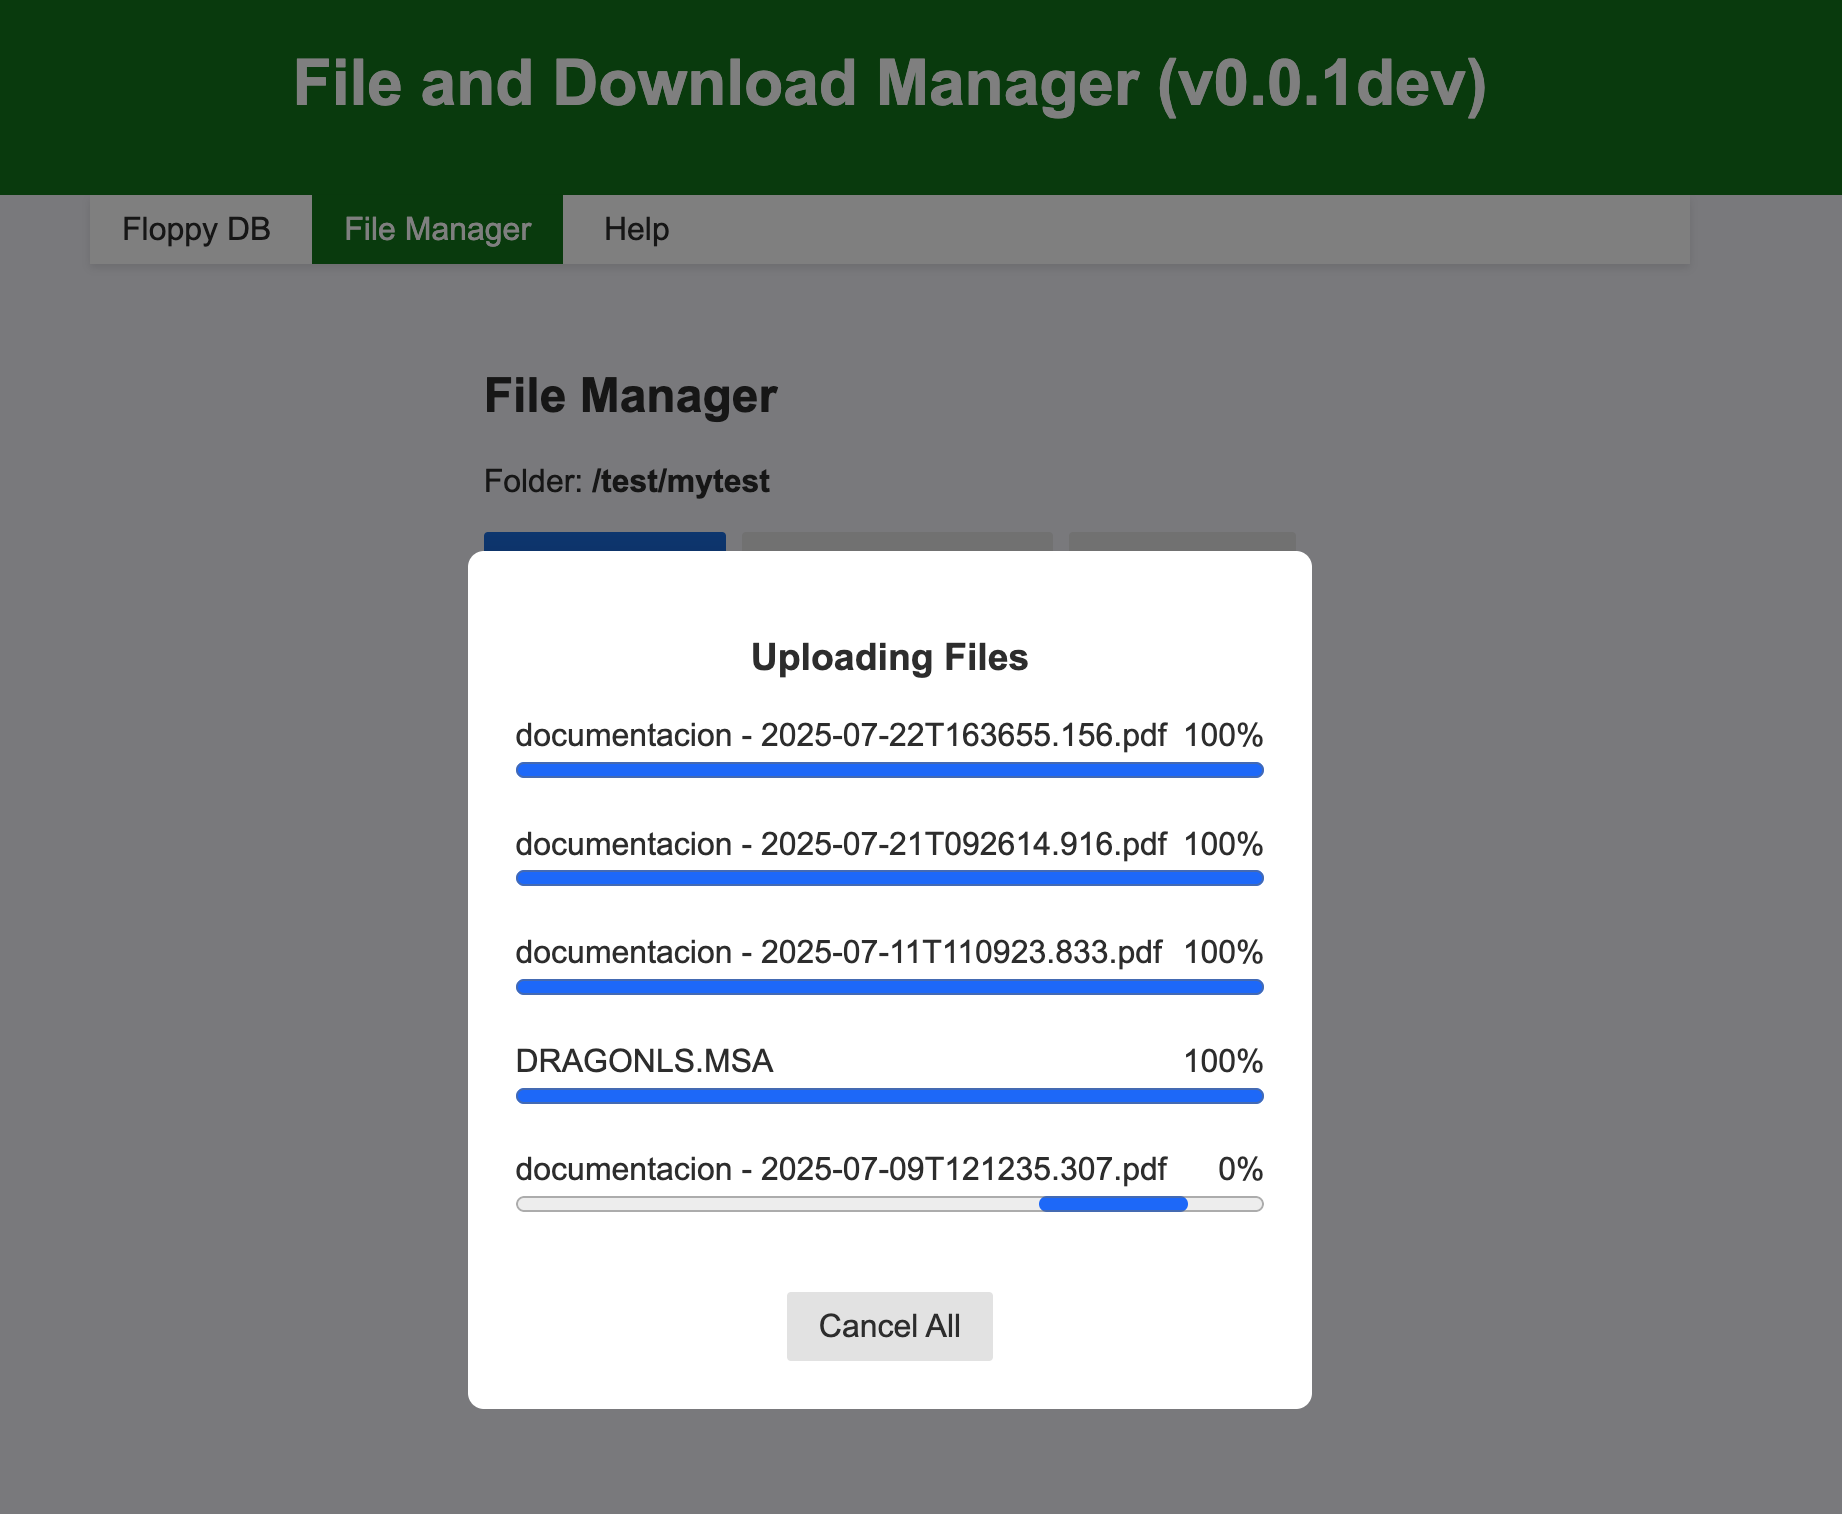
Uploading Files
- Upload files – pick one or multiple files from your computer.
- Upload from URL – fetch a remote file directly into the current folder. Both
http://andhttps://URLs work, redirects (301/302/303/307/308) are followed automatically, and you can include an explicit port (for examplehttp://host:8080/file). Downloaded files are named the way a web browser would name them, and a failed or redirected download never leaves an error page or stub behind. - Paste a link – copy any
http/httpsURL and paste it anywhere in the File Manager to open Upload from URL already filled in. Just click Start Download.
Progress bars track each transfer, and the file list refreshes on its own when a download finishes—new files appear without reloading the page.
🔌 USB Mass Storage Mode
Prefer to work from your desktop OS? Plug the Multi-device into USB and the microSD mounts like any other drive. The QR screen displays a USB Mass Storage notice while this mode is active.
You can leave the web UI open while USB mode is active. Just refresh the browser or your file explorer if you don’t immediately see changes from the other side.
⏏️ Exiting to GEMDOS or Booster
- ESC on the QR screen opens Booster.
- The web UI header includes a Booster button for quick returns.
- Any other key exits the app and boots GEM; the web UI stays live in your browser.
- Hold SELECT for 10 seconds to factory-reset the Multi-device (useful for troubleshooting).
♻️ System Reset Behavior
The File & Download Manager survives warm resets. Pressing RESET on the Atari does not interrupt downloads or file transfers.
🔄 Power Cycling
After power cycling, the app restarts at the QR code screen ready for another session.
⚙️ Advanced Features
Changing the microSD Card Speed
The Booster App lets you tune the SPI bus speed (1 MHz – 24 MHz; default 12.5 MHz):
- Launch Booster (press X if you’re in another app).
- Open the web UI and go to Config.
- Set SD card bus speed (KHz) (e.g.,
24000). - Click Save and relaunch the File & Download Manager.
Values below 1 MHz are clamped to 1 MHz; values above 24 MHz are clamped to 24 MHz. 24 MHz works for most cards, but drop it to 12.5 MHz or 6 MHz if you see instability.
📜 License
The source code is released under the GNU General Public License v3.0. See the LICENSE file for details.
🤝 Contributing
Made with ❤️ by SidecarTridge