User Guide
This section provides guidance on the initial steps and daily operation of the SidecarTridge TOS Emulator, including how to power on the Atari ST, switch between TOS versions, and use the rescue mode.
Table of contents
Powering on the TOS Emulator
Starting in version 3 of the board, the SidecarTridge TOS Emulator has a built-in red LED indicator that lights up when the board is powered on. It will light up when the Atari ST is powered on, or when the SidecarTridge TOS Emulator is powered via USB. This LED indicator is not present in version 1 and 2 of the board.
Powering On the Atari ST
Simply turn on the Atari ST as you normally would. The SidecarTridge TOS Emulator will automatically boot the active TOS version. If no active TOS version is selected, the emulator will boot the default EmuTOS version provided with the kit.
Starting from version 3 of the board, the SidecarTridge TOS Emulator will light up a green LED indicator when the firmware is running. This LED indicator is not present in version 1 and 2 of the board.
Powering On USB-connected to a PC/Mac/Linux Computer
When the SidecarTridge TOS Emulator is connected to a computer via USB, it will automatically start in USB Mass Storage mode. This allows you to access the internal flash memory of the SidecarTridge TOS Emulator as a USB drive on your computer.
Starting from version 3 of the board, the SidecarTridge TOS Emulator will light up an orange LED indicator when the internal USB drive is mounted. This LED indicator is not present in version 1 and 2 of the board. When transferring files to the internal USB drive, this LED will blink to indicate data transfer activity.
The SidecarTridge TOS Emulator will not boot the Atari ST when connected to a computer via USB. To boot the Atari ST, you must disconnect the USB cable and power on the Atari ST as usual.
The SWITCHER.TOS Program
The SWITCHER.TOS program is a utility that allows you to switch between TOS versions. This program can be obtained through different ways:
- copied from the SidecarTridge TOS Emulator internal USB drive
- downloaded from the main page of the documentation
- ordered on a physical diskette.
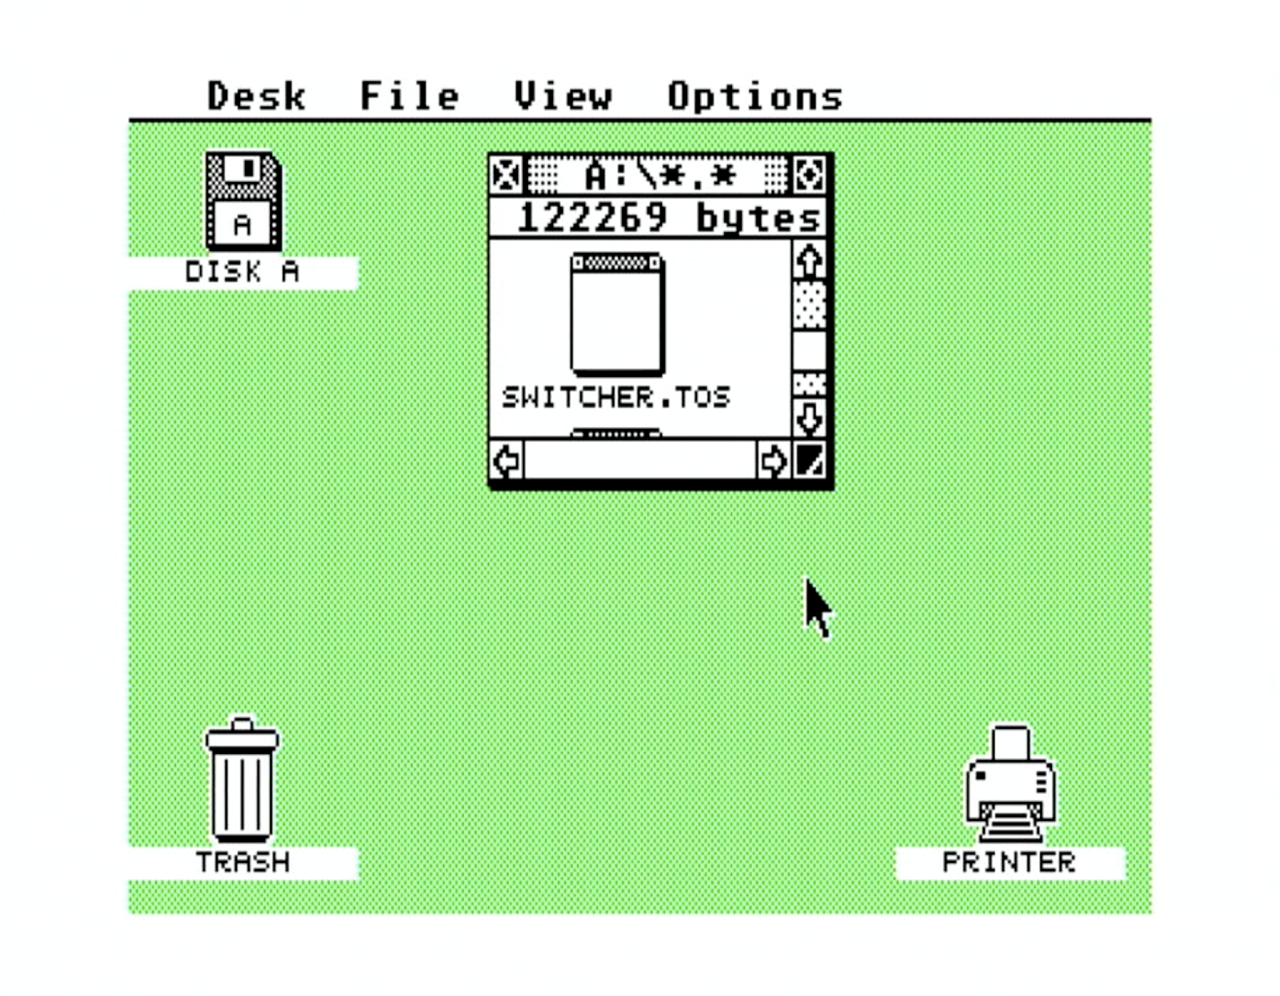
SWITCHER.TOS can be run from the desktop like any other TOS program.
Select a New Active Default TOS Version
Unplug the SidecarTridge TOS Emulator from the USB port before running the SWITCHER.TOS program. Some cables may set some signals on the USB port that can interfere with the SidecarTridge TOS Emulator.
Open the SWITCHER.TOS application. The program will display a list of available TOS ROMs with the following information:
- TOS ROM images: The list of available TOS ROM images.
- Default TOS ROM: The currently active TOS ROM or the default TOS ROM.
- Rescue TOS ROM: The TOS ROM used for the rescue mode.
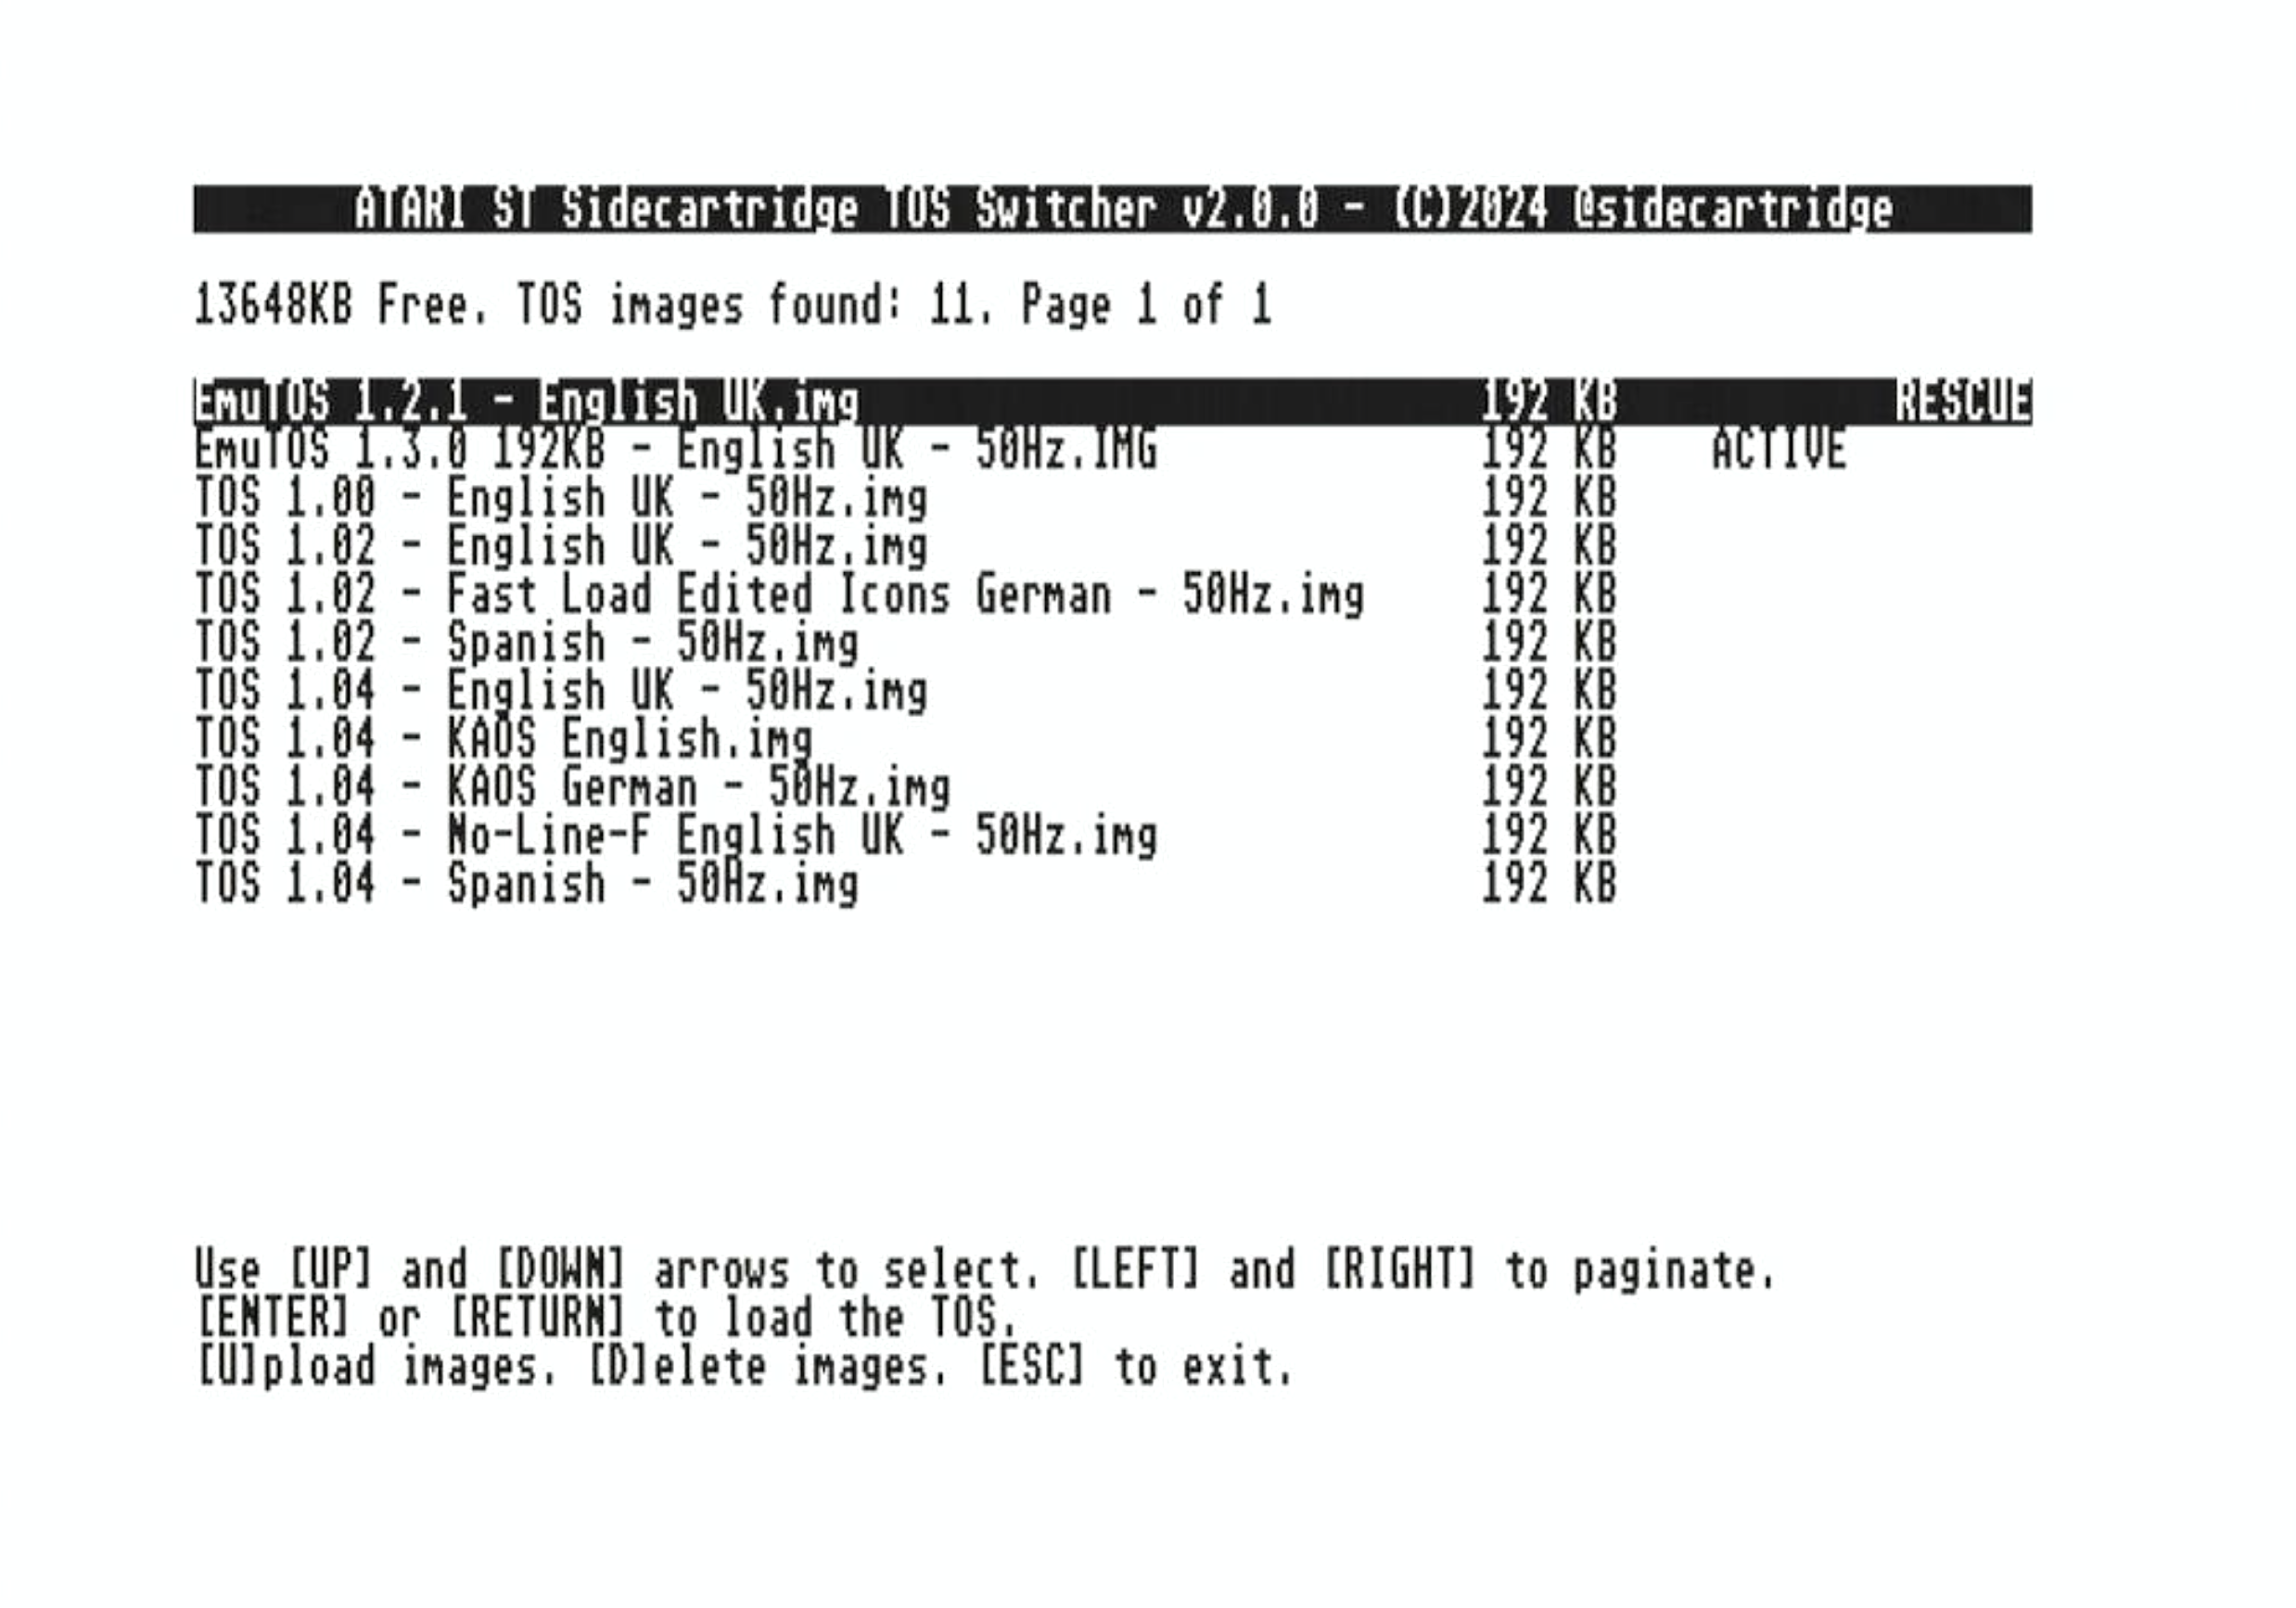
Use the arrow keys to navigate the list and press the RETURN key to select the desired TOS ROM. The program will then reboot the Atari ST with the selected TOS ROM.
This is the recommended way to switch between TOS versions. It is also possible to switch TOS versions modifying the DEFAULT.TXT file as described in the Getting Started section, but this method is not recommended for daily use.
Rescue Mode
If a new active TOS ROM is corrupted or not working correctly, you have two options:
- Rewrite the TOS ROM images on the flash memory as described in the Getting Started section.
- Use the rescue mode.
Rewriting the TOS ROM images is a good option if you have easy access to a computer with a USB port and can connect the SidecarTridge TOS Emulator to it with your Atari ST computer case open. This is suitable if your TOS images are not going to change frequently. However, if you plan to change ROM images often, the rescue mode is the best option.
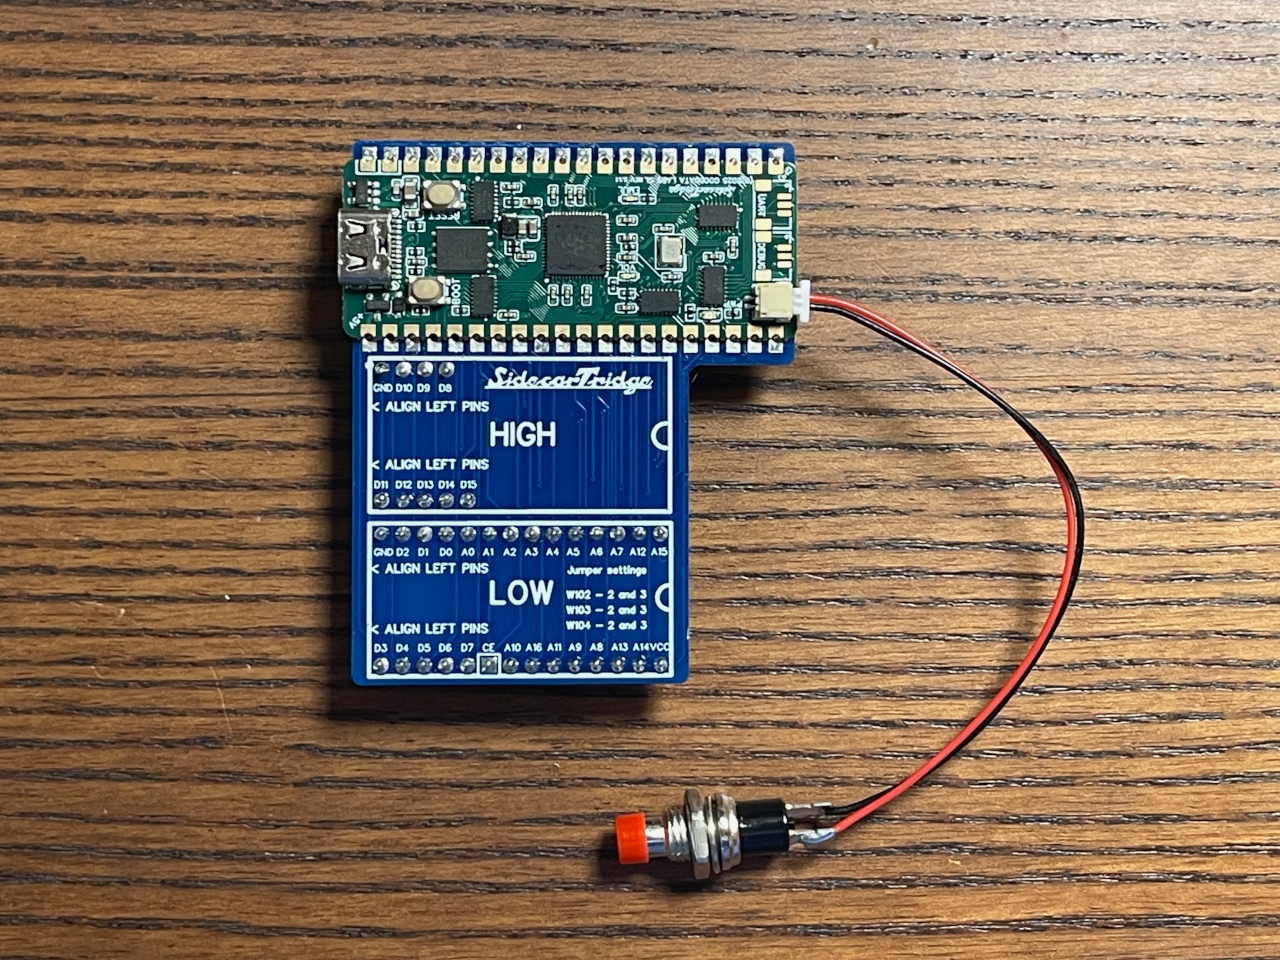
The rescue mode can be activated by short-circuiting the RESCUE jumper on the reverse side of the SidecarTridge TOS Emulator. For user convenience, a rescue mode cable and button are included with the emulator.
To force boot the rescue TOS ROM, follow these steps:
- Turn off the Atari ST.
- Connect the rescue mode cable to the SidecarTridge TOS Emulator.
- Press and hold the rescue mode button.
- Turn on the Atari ST.
- Release the rescue mode button once the Atari ST is powered on.
Starting with firmware 3.1.0, rescue mode boots the bundled Rescue Switcher image by default. The file name depends on the ROM size used by your setup:
RESCUE_SWITCHER_v3.1.0_192KB.imgfor 192KB images.RESCUE_SWITCHER_v3.1.0_256KB.imgfor 256KB images.
Rescue Switcher lets you select another TOS ROM image already stored on the device, which makes recovery faster and more convenient.
For a generic overview of the rescue-switcher project, available images, and installation flow, see ROM Rescue Switcher.

If you are using an older configuration or have manually assigned a different rescue TOS ROM, the Atari ST will boot that rescue image instead.
TOS Management from the Atari ST
Starting from version 2 of the firmware it is possible to upload, delete and rename a new TOS ROM image from any Atari ST/MegaST/STE/MegaSTE computer. This feature is useful if you want to upload a new TOS ROM image without the need of a computer with a USB port and/or the need to open the Atari ST computer case.
Uploading a new TOS ROM from the Atari ST computer
To upload a new TOS ROM image from the Atari ST computer, press the [U]pload key in the SWITCHER.TOS program. The program will show you a file system browser to select the TOS ROM image to upload from your computer. Navigate to the desired TOS ROM image and press the RETURN key to start the upload process.
The upload and delete features cannot be interrupted. Do not turn off the Atari ST computer while the upload or delete process is in progress. It may damage the storage memory of the SidecarTridge TOS Emulator needing a reflash of the firmware.
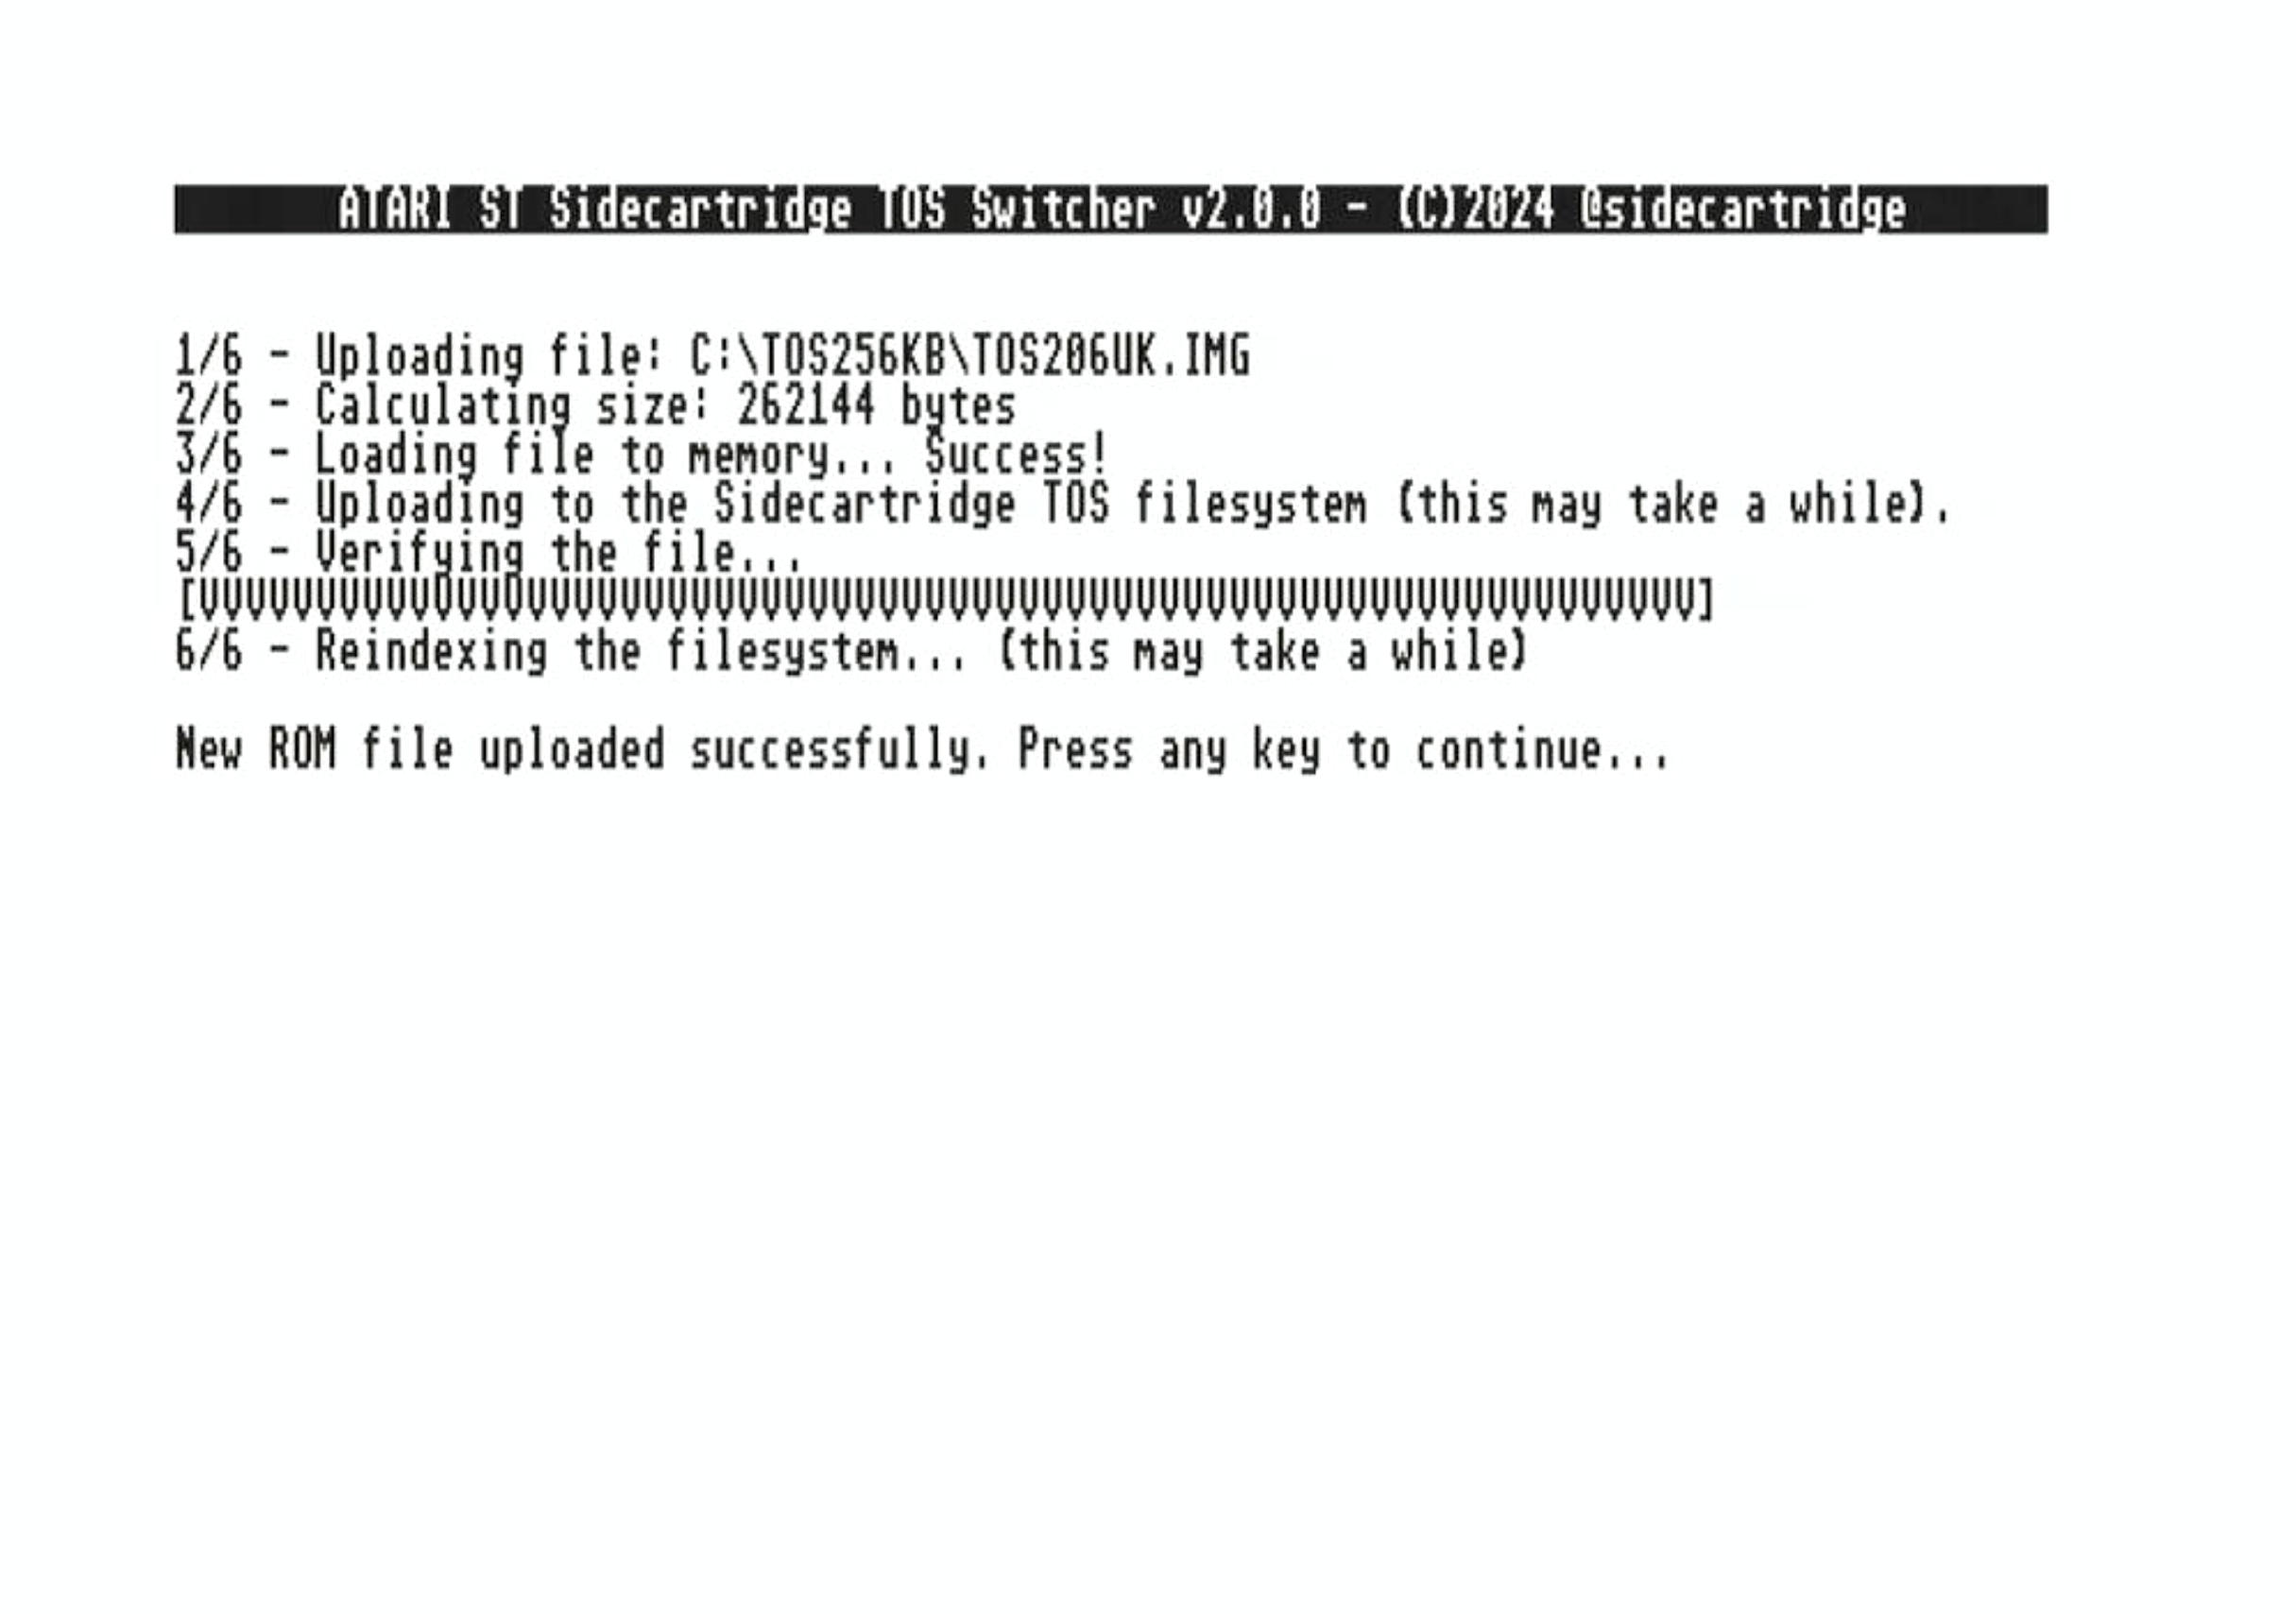
The SWITCHER.TOS program will upload the TOS ROM image to the SidecarTridge TOS Emulator. This process may take a few minutes depending on the size of the TOS ROM image. Once the upload is complete, appliaction will verify that the new image is correct and will reindex the TOS ROM images list.
The uploaded TOS ROM image will be available in the list of TOS ROM images. You can now select the new TOS ROM image as the active default TOS ROM.
Deleting a TOS ROM from the Atari ST computer
To delete a TOS ROM image from the Atari ST computer, select the TOS ROM image you want to delete from the list of TOS ROM images and press the [D]elete key in the SWITCHER.TOS program. The program will ask you to confirm the deletion of the TOS ROM image. The SWITCHER.TOS program will delete the TOS ROM image from the SidecarTridge TOS Emulator and reindex the TOS ROM images list.
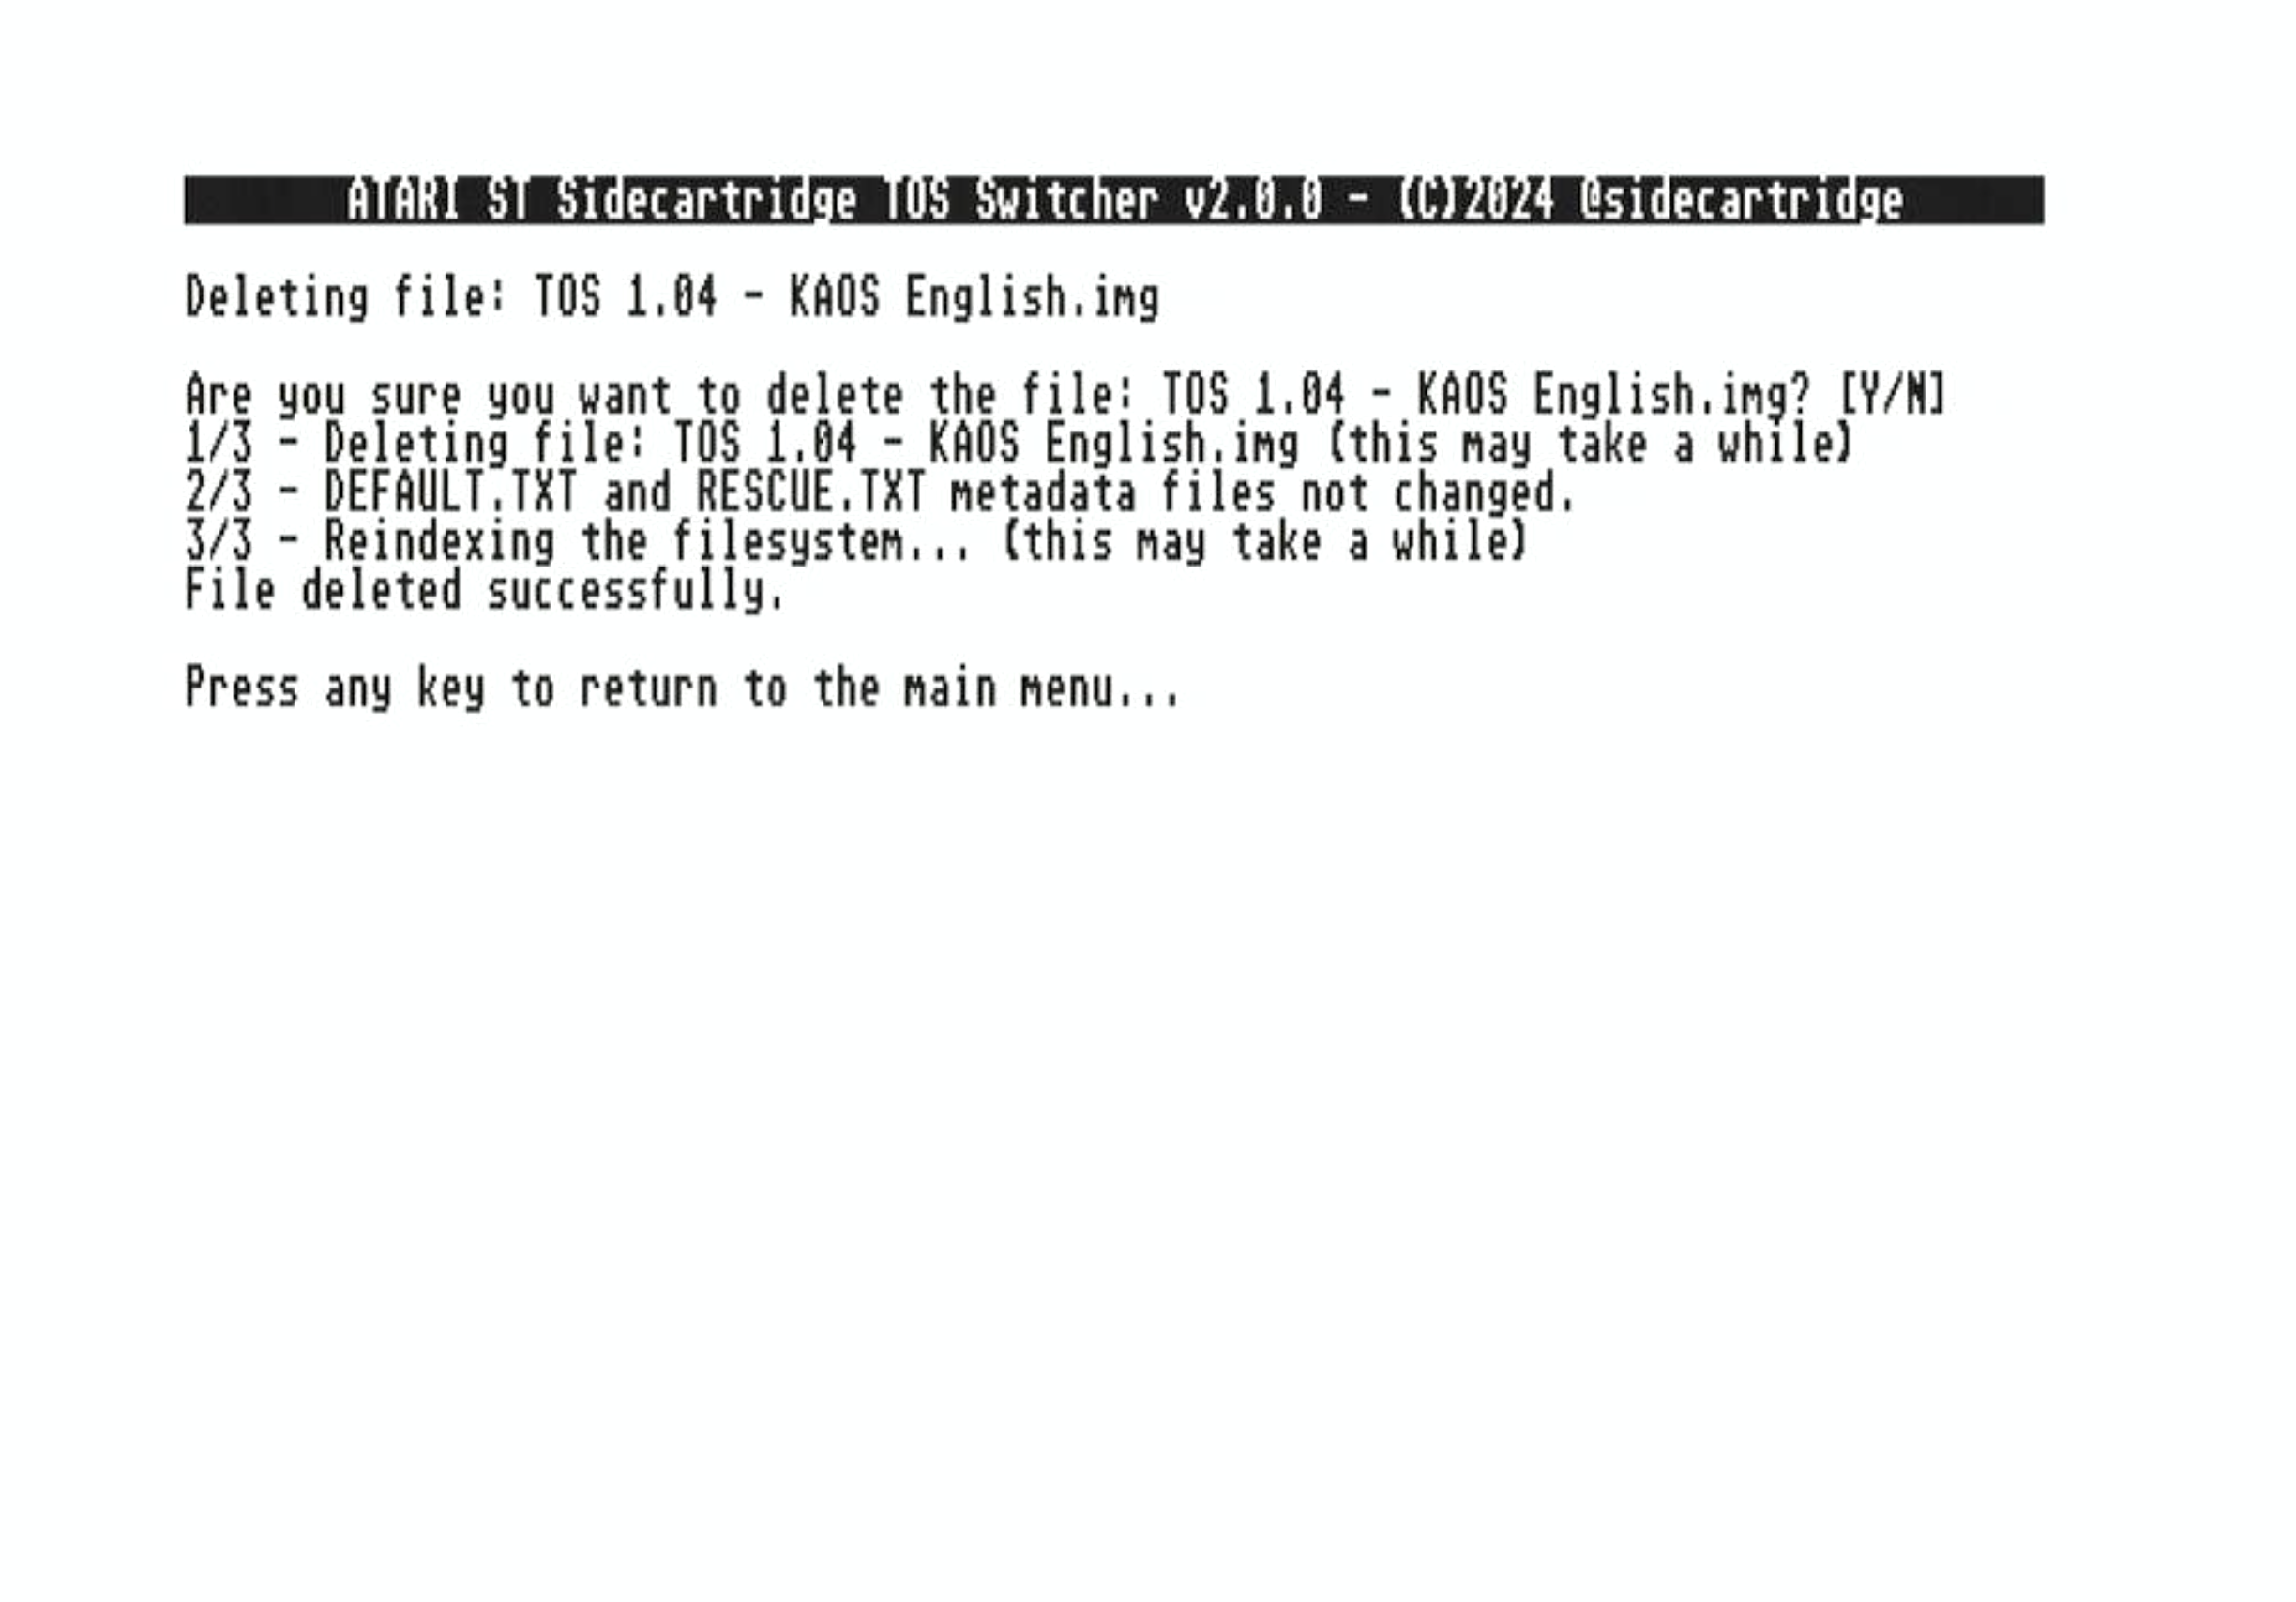
It is not possible to delete the default TOS ROM image or the rescue TOS ROM image. If you want to delete the default TOS ROM image, you must first select a new default TOS ROM image. If you want to delete the rescue TOS ROM image, you also must first select a new rescue TOS ROM image.
Renaming a TOS ROM from the Atari ST computer
v2.1.0
To rename a TOS ROM image from the Atari ST computer, select the TOS ROM image you want to rename from the list of TOS ROM images and press the [R]ename key in the SWITCHER.TOS program. The program will ask you to enter the new name for the TOS ROM image. The SWITCHER.TOS program will rename the TOS ROM image and reindex the TOS ROM images list.
The new name must be valid Long File Name (LFN) of up to 64 characters in the ASCII range 32-126. The SWITCHER.TOS program will check the new name and will reject it if it is not valid or longer than 64 characters.
The new name will be rejected if it is already in use by another TOS ROM image.
As the delete feature, it is not possible to rename the default TOS ROM image or the rescue TOS ROM image. If you want to rename the default or rescue TOS ROM image, you must first select a new default TOS ROM image.
Select a new Rescue TOS ROM
Starting with firmware 3.1.0, the factory default rescue image is Rescue Switcher. The file name depends on the ROM size used by your setup:
RESCUE_SWITCHER_v3.1.0_192KB.imgfor 192KB images.RESCUE_SWITCHER_v3.1.0_256KB.imgfor 256KB images.
This is the recommended rescue configuration because it allows you to choose another ROM image already stored on the device.
For more background on the shared rescue-switcher project, see ROM Rescue Switcher.
The rescue TOS cannot be changed using the SWITCHER.TOS program or the internal API call to switch TOS ROMs. To change the rescue TOS ROM, you must modify the RESCUE.TXT file as described in the Getting Started section. If you still want to change the rescue TOS ROM using the SWITCHER.TOS program, you can do so by following these steps at your own risk.
Previous: Hardware Installation Main Next: Advanced Settings